This tutorial was updated in October 2022 and is based on Flex Gateway 1.2.0.
You can use Flex Gateway locally or in connected mode. If you use it locally, you will only be able to run it from your local machine, but you can’t manage the APIs from Anypoint Platform. In connected mode, you can view your gateways, your API instances, and policy configurations in API Manager. In this case, we’ll register and run Flex Gateway in connected mode as a Kubernetes Ingress Controller.
In this tutorial, you’ll learn how to:
- Install the Flex Gateway Docker image
- Register the gateway in connected mode
- Start the gateway
- Remove the gateway
Prerequisites
- Anypoint Platform - We’ll need an Anypoint Platform account to manage our Flex Gateway. You can sign up for a free trial account here.
- Flex Gateway permissions - You shouldn’t need to assign any specific permissions to follow this tutorial when using a new free trial account. However, if you experience permission issues, please see Flex Gateway prerequisites.
- Docker - We’ll need to install Docker to download, install, and run the Flex Gateway image on our local machine. You can download Docker Desktop here.
- Running Kubernetes - You will need to be running Kubernetes before starting this tutorial. You can use a local instance such as
k3dorminikube, or a cloud service provider such as Amazon Elastic Kubernetes Service (EKS). - (Optional) Overview and introduction - If you want to first see an overview and introduction to Flex Gateway without a technical how-to, see this tutorial.
Set up Flex Gateway in Runtime Manager
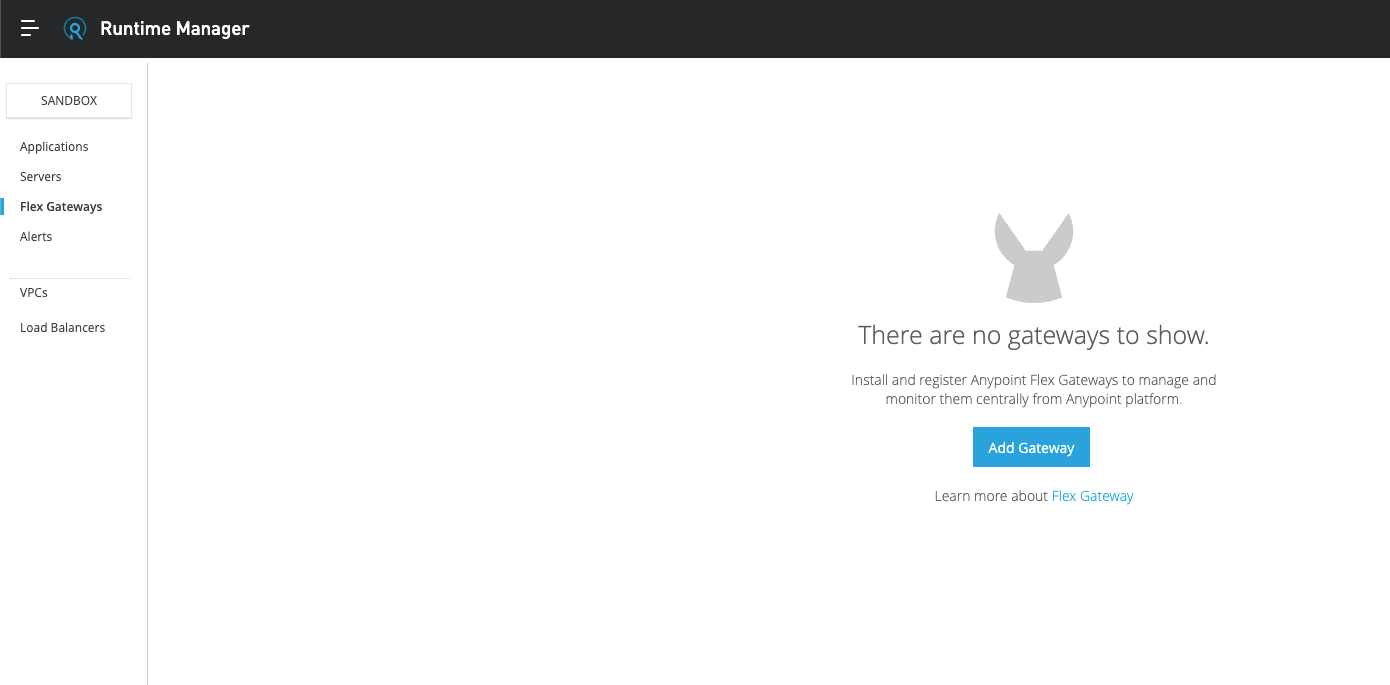
1 - Log in to Anypoint Platform and navigate to Runtime Manager. Click on the Flex Gateways tab on the left and select Add Gateway.
If this is the first time you access Anypoint Platform, it may ask you to select an environment. Choose Sandbox.
2 - You will see different options to select where to set up your Flex Gateway. Let’s select Kubernetes.
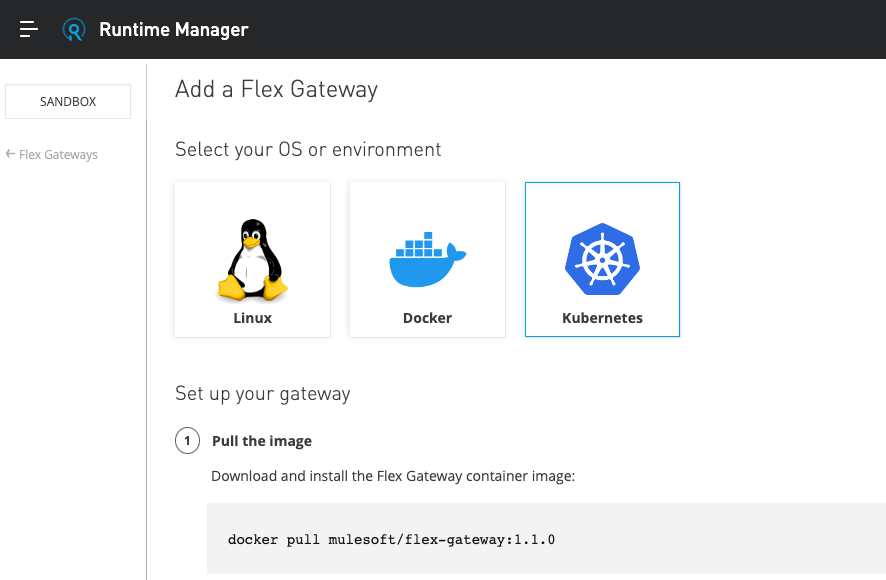
Install the Flex Gateway Docker image
1 - Download the Flex Gateway Docker image by running the following command. We will be using the latest version in this tutorial.
1
docker pull mulesoft/flex-gateway:latest
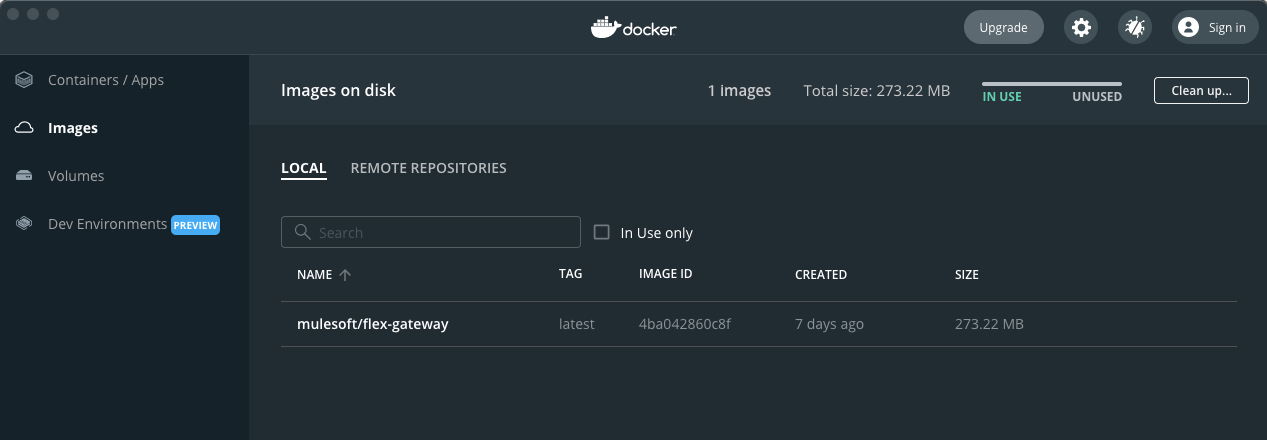
2 - Verify the image was correctly installed by running docker images or checking your images from the Docker Desktop app. You should see the new mulesoft/flex-gateway image.
Command-line output:
1
2
REPOSITORY              TAG       IMAGE ID       CREATED      SIZE
mulesoft/flex-gateway   latest    4ba042860c8f   7 days ago   273MB
Docker Desktop preview:
Register the gateway in connected mode
1 - Copy the command from Runtime Manager to register your gateway. It already contains the token and organization ID you need to authenticate and connect the gateway with your Anypoint Platform account.
This command is using Auth Token as the authentication mechanism for registering the gateway. You can also choose to connect it using a Connected App or your Anypoint Platform Username and Password.
1
2
3
4
5
6
7
8
docker run --entrypoint flexctl \
-v "$(pwd)":/registration mulesoft/flex-gateway \
register \
--organization=<your-org-id> \
--token=<your-token> \
--output-directory=/registration \
--connected=true \
<gateway-name>
If you’re running this command in MacOS, Linux, or a Unix-based command line, it’s ok to run it as-is. If you’re running the command from a Windows computer, you will need to change the "$(pwd)" part with the absolute path to your current directory.
2 - Replace <gateway-name> with your own name (i.e. my-gateway).
3 - Remove the version from the flex-gateway image to use the latest version (i.e., mulesoft/flex-gateway).
It’s better to run this command in a new folder or in a known location to quickly identify the files that will be created.
If you are in the Europe region, you will need to add the following flag to your command
--anypoint-url=https://eu1.anypoint.mulesoft.com
Your final command after substituting the values will look like this:
Command:
1
2
3
4
5
6
7
8
docker run --entrypoint flexctl \
-v "$(pwd)":/registration mulesoft/flex-gateway \
register \
--organization=e04b331c-a0d3-4b0b-b40c-55254205c981 \
--token=4c3fa08c-5d08-431f-ba9a-cb4416db7dc7 \
--output-directory=/registration \
--connected=true \
my-gateway
Output:
1
2
Starting registration, please be patient.
Registration completed, the configuration files were written in directory "/registration". For security, modify the file permissions to restrict production scenario access to the user running flex.
4 - Verify there is a registration.yaml file in the same directory you executed the command.
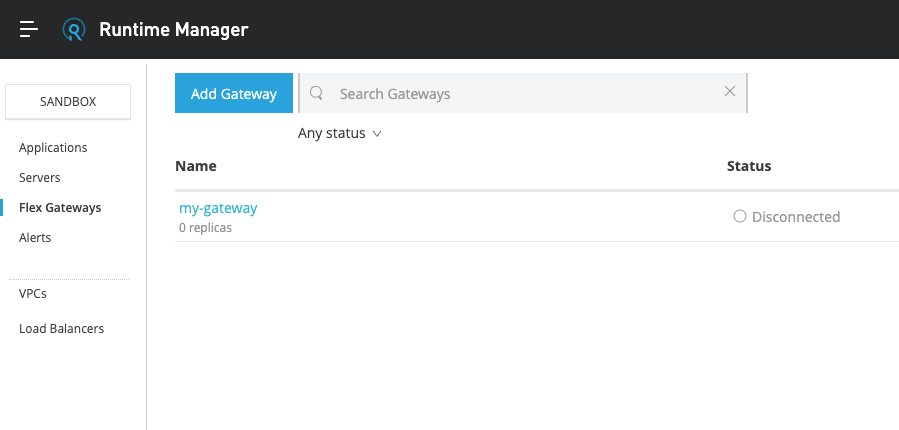
5 - If you check the Flex Gateway list in Runtime Manager, your should now see your new gateway (my-gateway) listed with a status of Disconnected.
Start the gateway
Make sure you are already running Kubernetes before continuing. You can use a local instance such as k3d or minikube, or a cloud service provider such as Amazon Elastic Kubernetes Service (EKS). If this is not set up correctly, the following steps might result in errors.
1 - Run the following commands to add and update the helm repository.
Command:
1
2
helm repo add flex-gateway https://flex-packages.anypoint.mulesoft.com/helm
helm repo up
Output:
1
2
3
4
5
6
"flex-gateway" has been added to your repositories
Hang tight while we grab the latest from your chart repositories...
...Successfully got an update from the "flex-gateway" chart repository
...Successfully got an update from the "peregrine" chart repository
...Successfully got an update from the "grafana" chart repository
Update Complete. ⎈Happy Helming!⎈
2 - Run the following command to create the gateway namespace and install the gateway to Anypoint Platform.
Command:
1
2
helm -n gateway upgrade -i --create-namespace --wait ingress flex-gateway/flex-gateway \
  --set-file registration.content=registration.yaml
Output:
1
2
3
4
5
6
7
Release "ingress" does not exist. Installing it now.
NAME: ingress
LAST DEPLOYED: Wed Aug 10 13:35:44 2022
NAMESPACE: gateway
STATUS: deployed
REVISION: 1
TEST SUITE: None
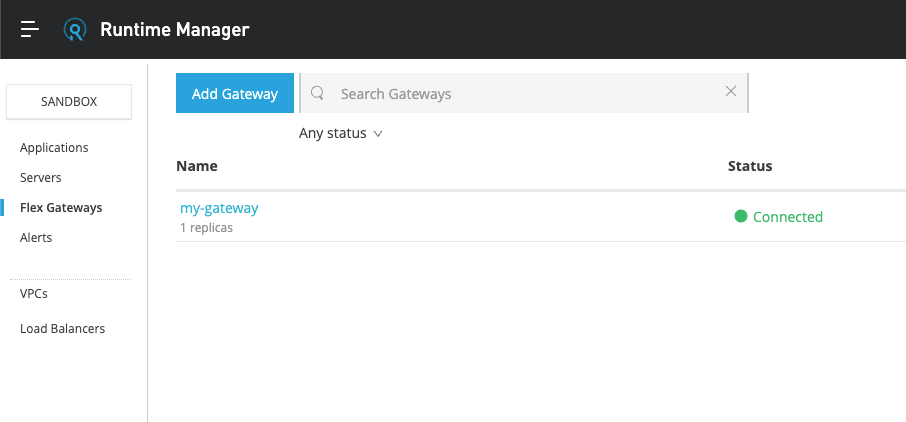
3 - If you check the Flex Gateways list in Runtime Manager, you should now see your new gateway (my-gateway) with a status of Connected.
4 - You can verify the gateway is up and running in Kubernetes with the following command.
Command:
1
kubectl get services --namespace gateway
Output:
1
2
NAME      TYPE           CLUSTER-IP       EXTERNAL-IP                         PORT(S)                      AGE
ingress   LoadBalancer   172.21.104.120   550f1-279.us-west-1.amazonaws.com   80:30253/TCP,443:30270/TCP   4m23s
Take note of the EXTERNAL-IP and the associated ports to use in the following tutorial. In this case, this would be the configuration we’d use:
| EXTERNAL-IP / Host | 550f1-279.us-west-1.amazonaws.com |
| HTTP Port | 80 |
Remove the gateway
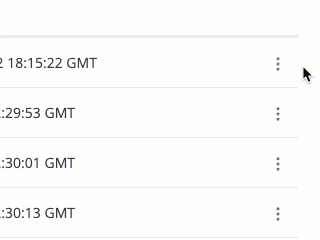
To delete a gateway from Runtime Manager, click on the 3-dot button next to the gateway and select Delete gateway.
The gateway will now have a status of Deleted and will be removed from the UI in 30 days. For more information, see Anypoint Flex Gateway.
Next Steps
In this tutorial, you learned how to:
- Install the Flex Gateway Docker image
- Register the gateway in connected mode
- Start the gateway
- Remove the gateway
In the next tutorial, you’ll learn how to manage your APIs from API Manager using the Flex Gateway you created in this tutorial.
Click on the Next button below to continue to the next tutorial.


Try Anypoint Platform for free
Start your 30-day free trial of the #1 platform for integration, APIs, and automation. No credit card required. No software to install.
Questions? Ask an expert.
