Introduction to Anypoint Service Mesh on AWS
Welcome to the Anypoint Service Mesh AWS tutorial. In this tutorial, we will walk you through the process of installing Anypoint Service Mesh on AWS. You will deploy a demo application and secure using Anypoint Service Mesh. To log issues, click here to go to the Github repository issue submission form. In order to successfully install Anypoint Service Mesh on AWS, you will need to create an AWS Cloud Platform account and also have an Anypoint Platform Account. Click the button below to sign up for an Anypoint Platform account or log into your existing account.
Already have an account? Sign in.
Configure your workstation for AWS
Amazon EKS uses IAM to provide authentication to your Kubernetes cluster through the AWS IAM Authenticator for Kubernetes. You can configure the stock kubectl client to work with Amazon EKS by installing the AWS IAM Authenticator for Kubernetes and modifying your kubectl configuration file to use it for authentication. The next steps will take you through the process.
Install the AWS CLI
Follow the steps in this document.
Install the AWS IAM Authenticator
Follow the steps in this document.
Configure Kubectl
Configure Kubectl to be able to connect to your AWS EKS Cluster.
Create a dedicated AWS Kubernetes Cluster
Install eksctl
Follow the following guide to get eksctl installed.
Step 1: Create an AWS EKS Cluster
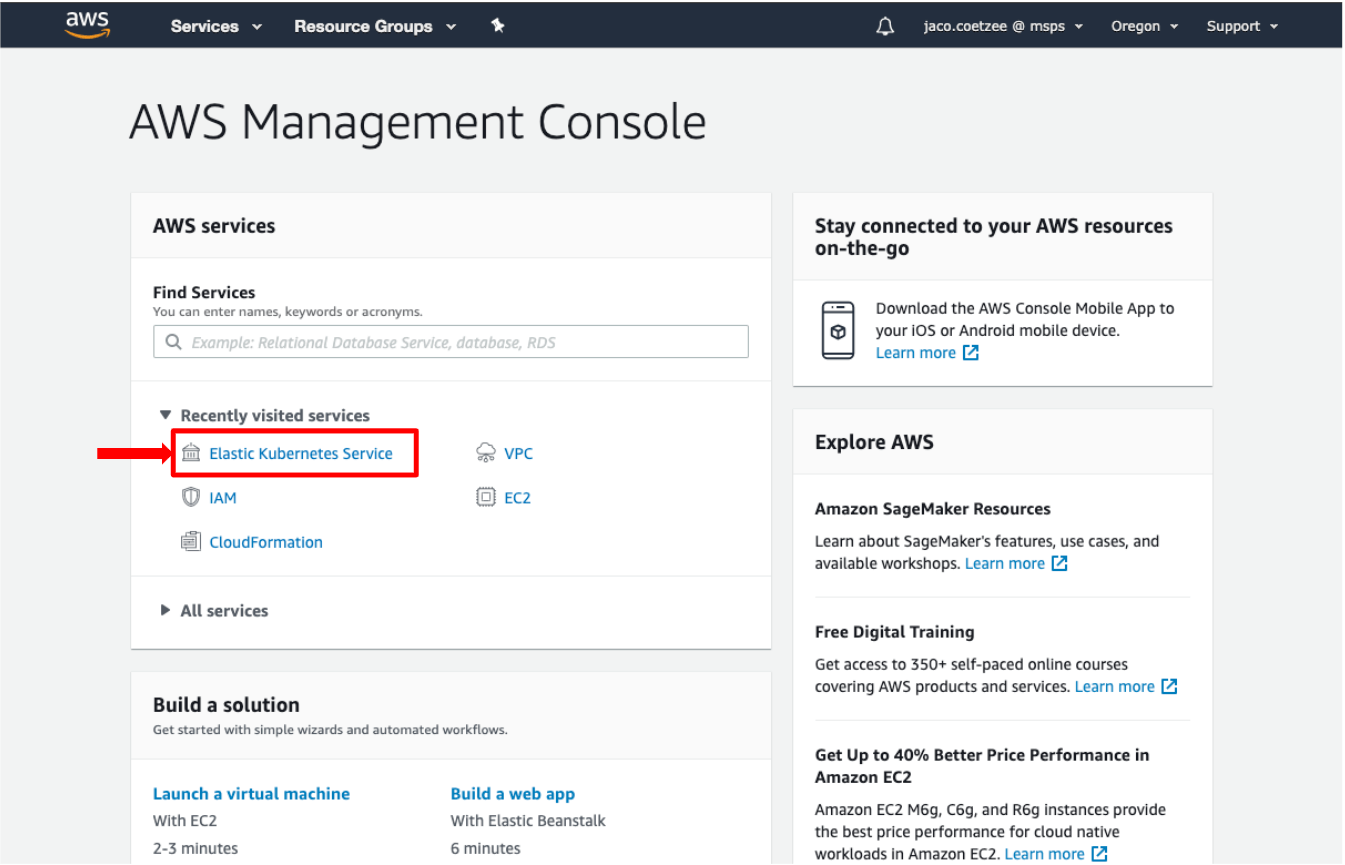
From any browser, navigate to the AWS Cloud Console and select the Elastic Kubernetes Service.
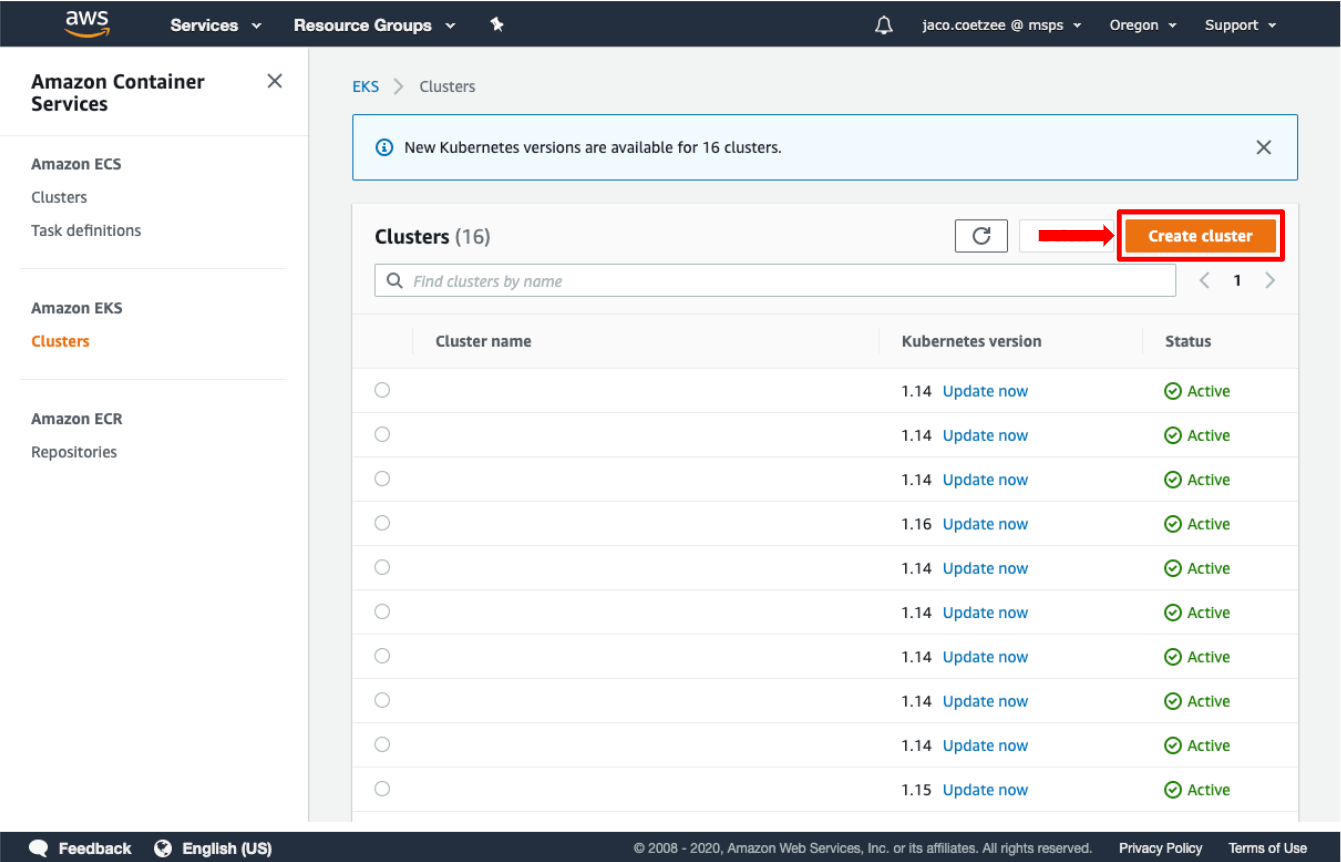
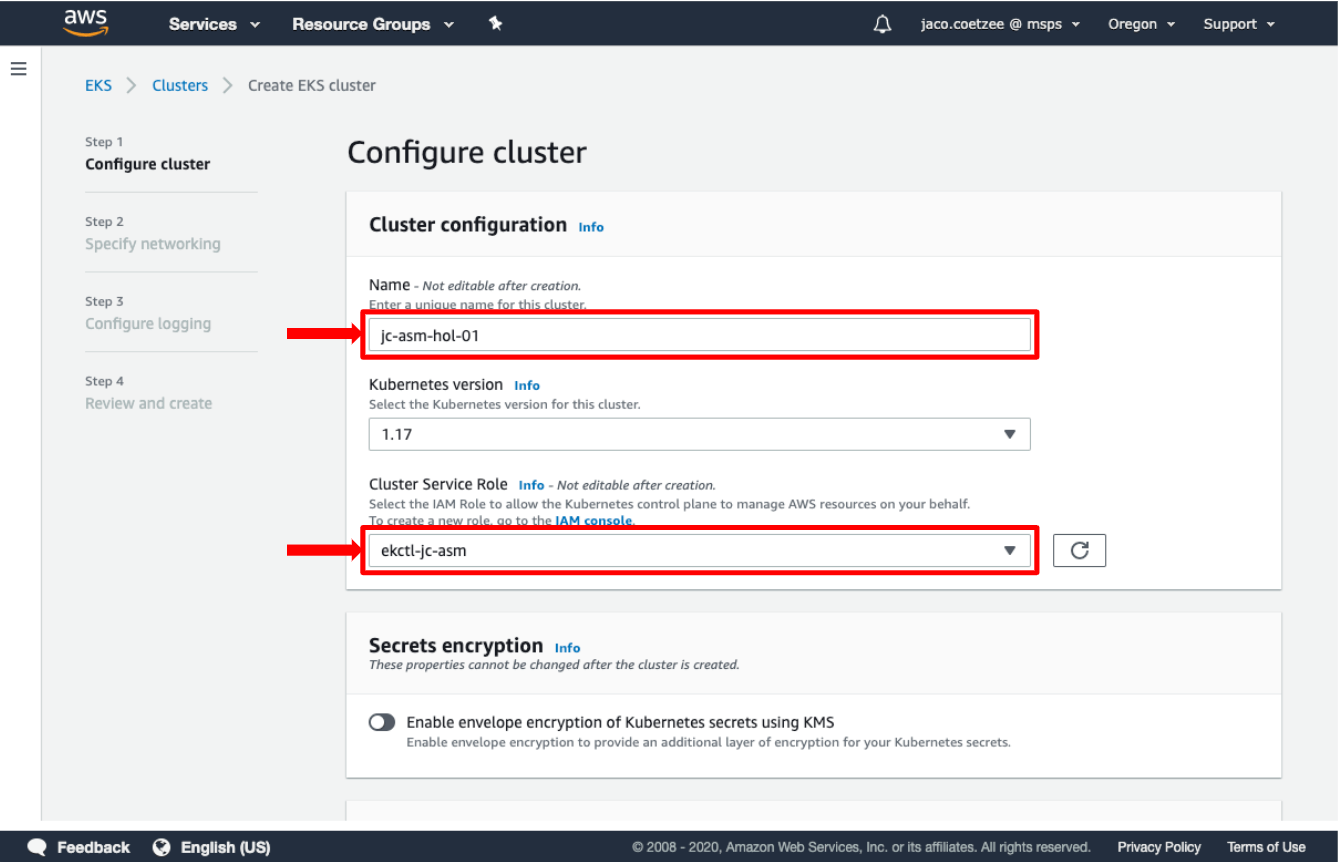
Next, click on Create Cluster and enter a name for the cluster and select the appropriate Cluster Service Role.
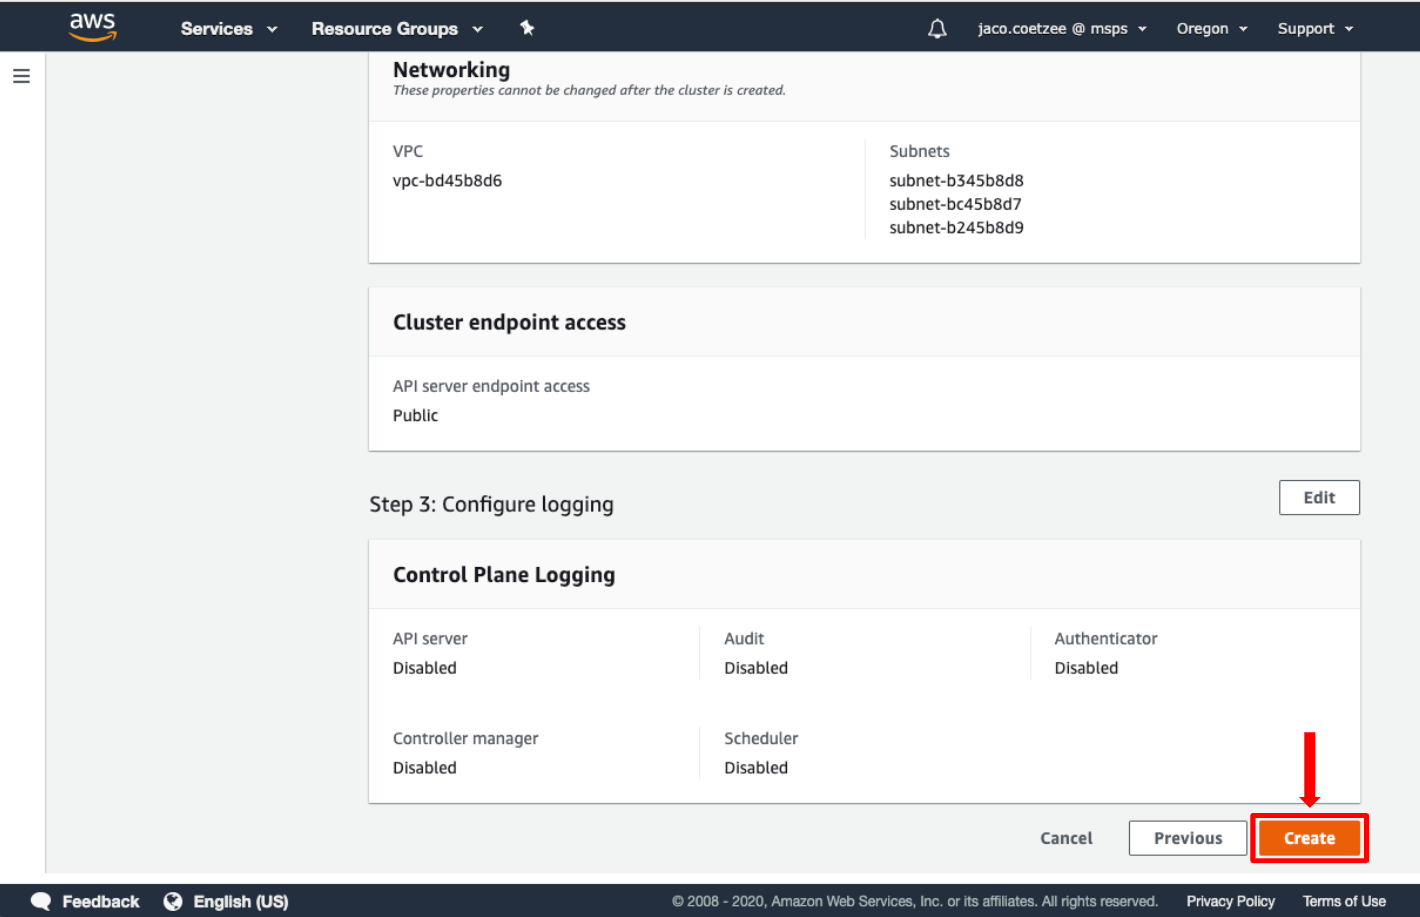
Click Create. Wait for the cluster to be created.
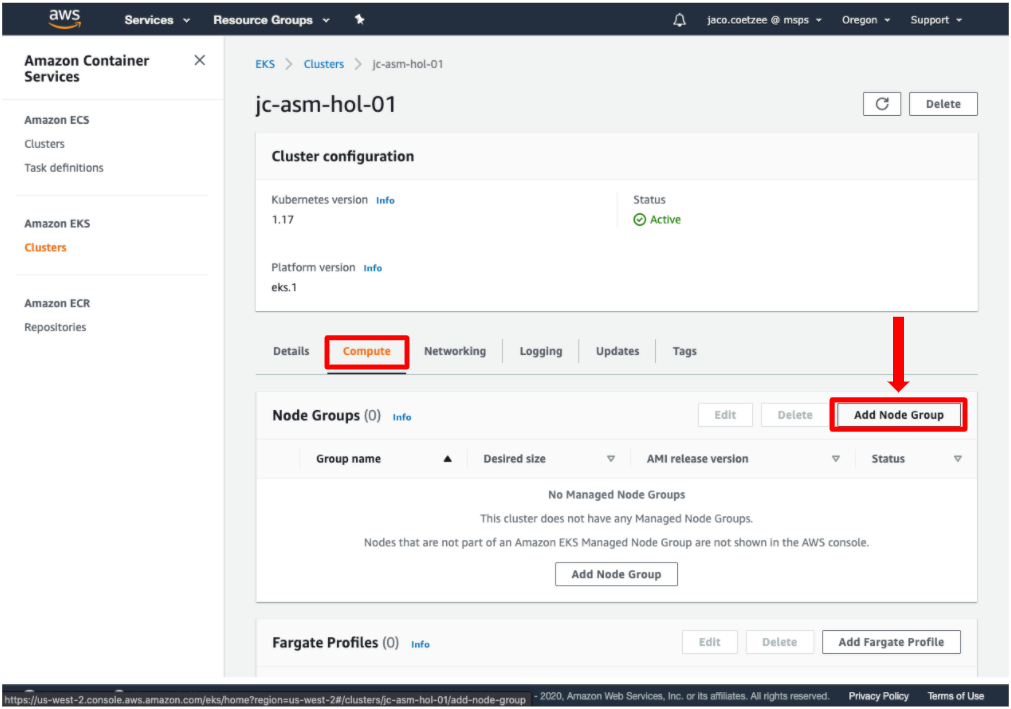
Step 2: Create a Node Group
Click on the compute tab in your newly created EKS Cluster. Select Add Node Group
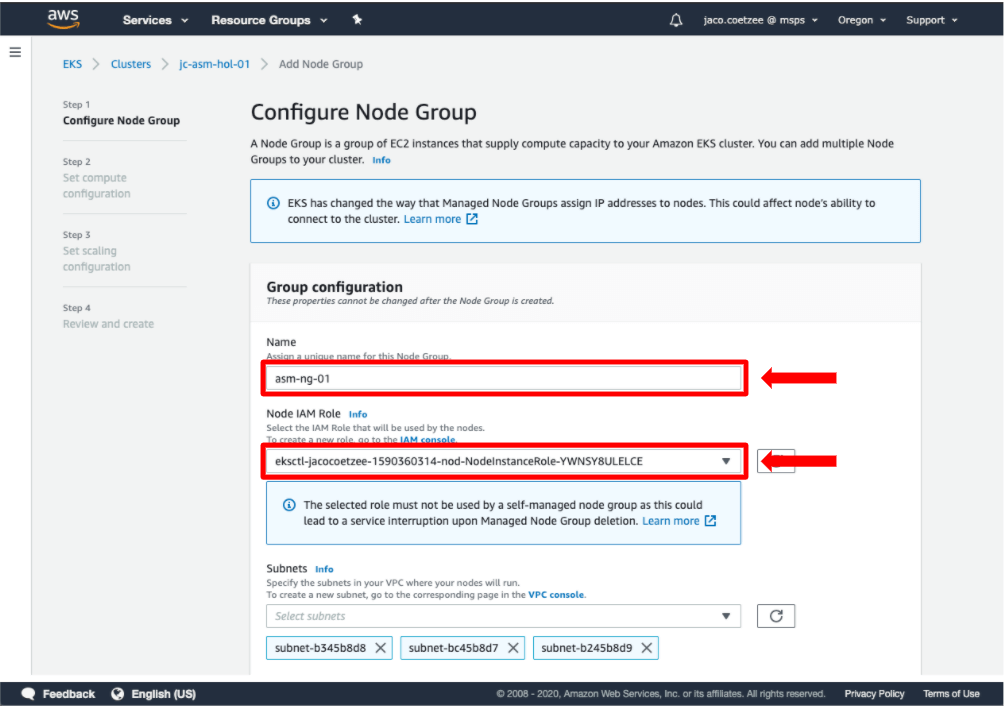
Complete the Name field, and select the appropriate Node IAM Role for your node group.
Next, select your SSH key pair and click Next.
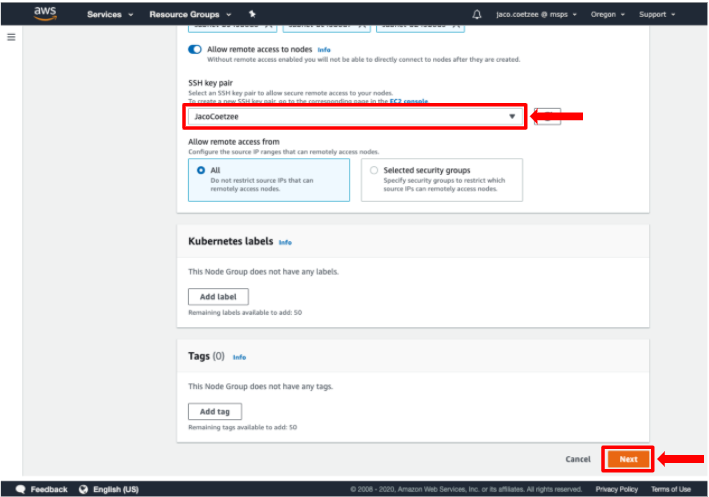
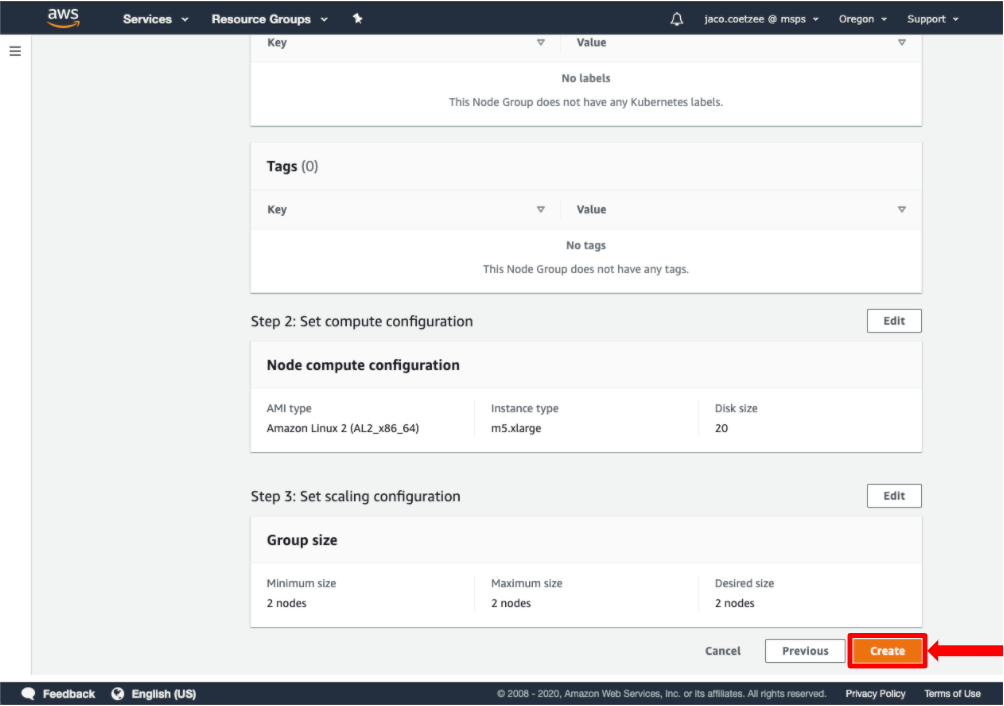
Expand the Instance type and select m5.xlarge, then click Next.

Scroll to the bottom and click Create and wait for the Node Group to be created.
Step 3: Verify Cluster and Connect
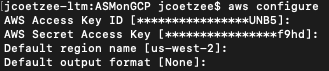
Open up a terminal and type aws configure. Complete the AWS Access Key ID and the AWS Secret Access Key. Make sure you specify the correct default region name and leave the default output format to None.
Make sure you are setting the correct context and update your AWS kube config.
aws eks --region us-west-2 update-kubeconfig --name {yournamespace} Next running the following command to verify that your cluster is running.
kubectl get pods --all-namespaces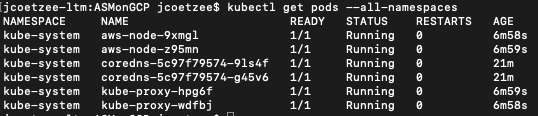
Step 4: Download and install Istio CLI
To install Istio we will be using the Istio CLI. For completed instructions Istio Docs. Use the following command to download Istio CLI into your directory of choice. In this example I am using directory /Users/dennis.foley/ASM
curl -L https://istio.io/downloadIstio | ISTIO_VERSION=1.7.2 sh -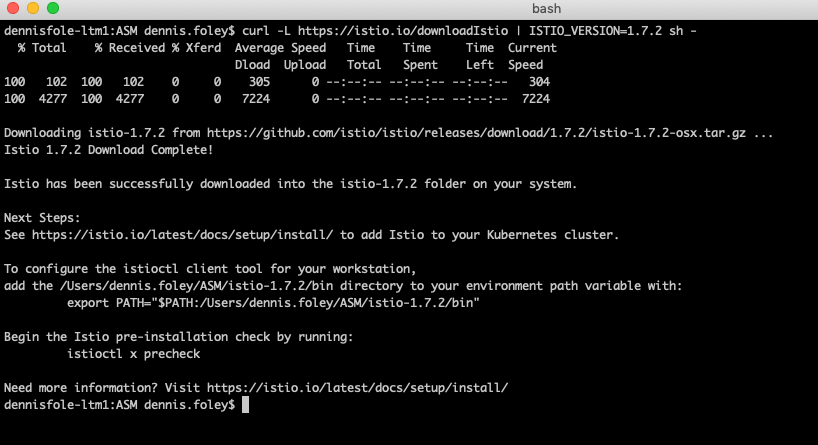
Change into newly downloaded directory then add the current directory to your path variables.
cd istio-1.7.2/export PATH=$PWD/bin:$PATH
Step 5: Install Istio using CLI
To install Istio we will be using the Istio CLI. From the istio directory run the following command. At the prompt Proceed? (y/N) enter y
istioctl install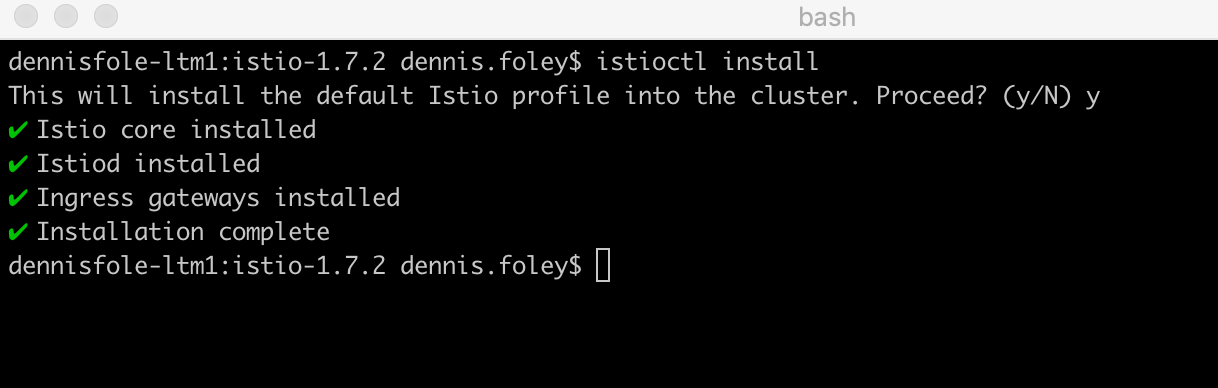
Verify that Istio has been installed. You should now see the istio-system namespace.
kubectl get namespaces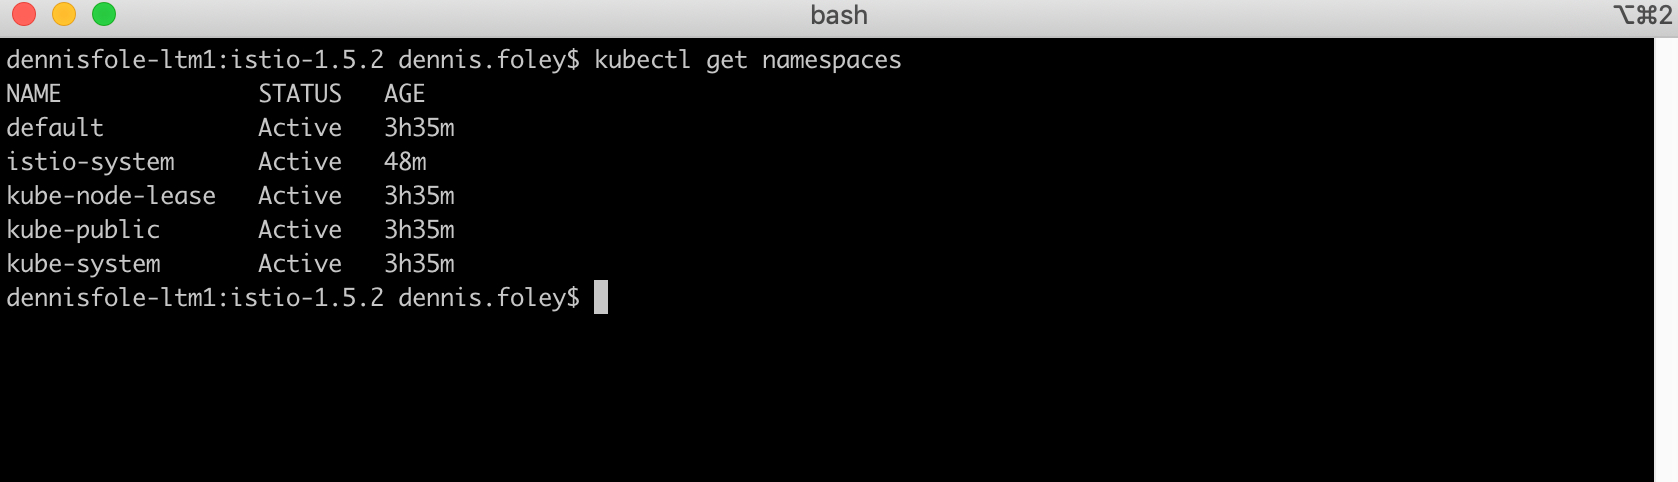
Step 6: Clone Demo Application
For our demo application will be using the Mythical Retail shopping cart application. This web-based UI will call several services to complete the order. First, clone the demo application git repository onto your local machine.
git clone https://github.com/mulesoft-consulting/ServiceMeshDemoChange to the ServiceMeshDemo directory and list out the contents to verify that the repository has been created correctly.
cd ServiceMeshDemo/
ls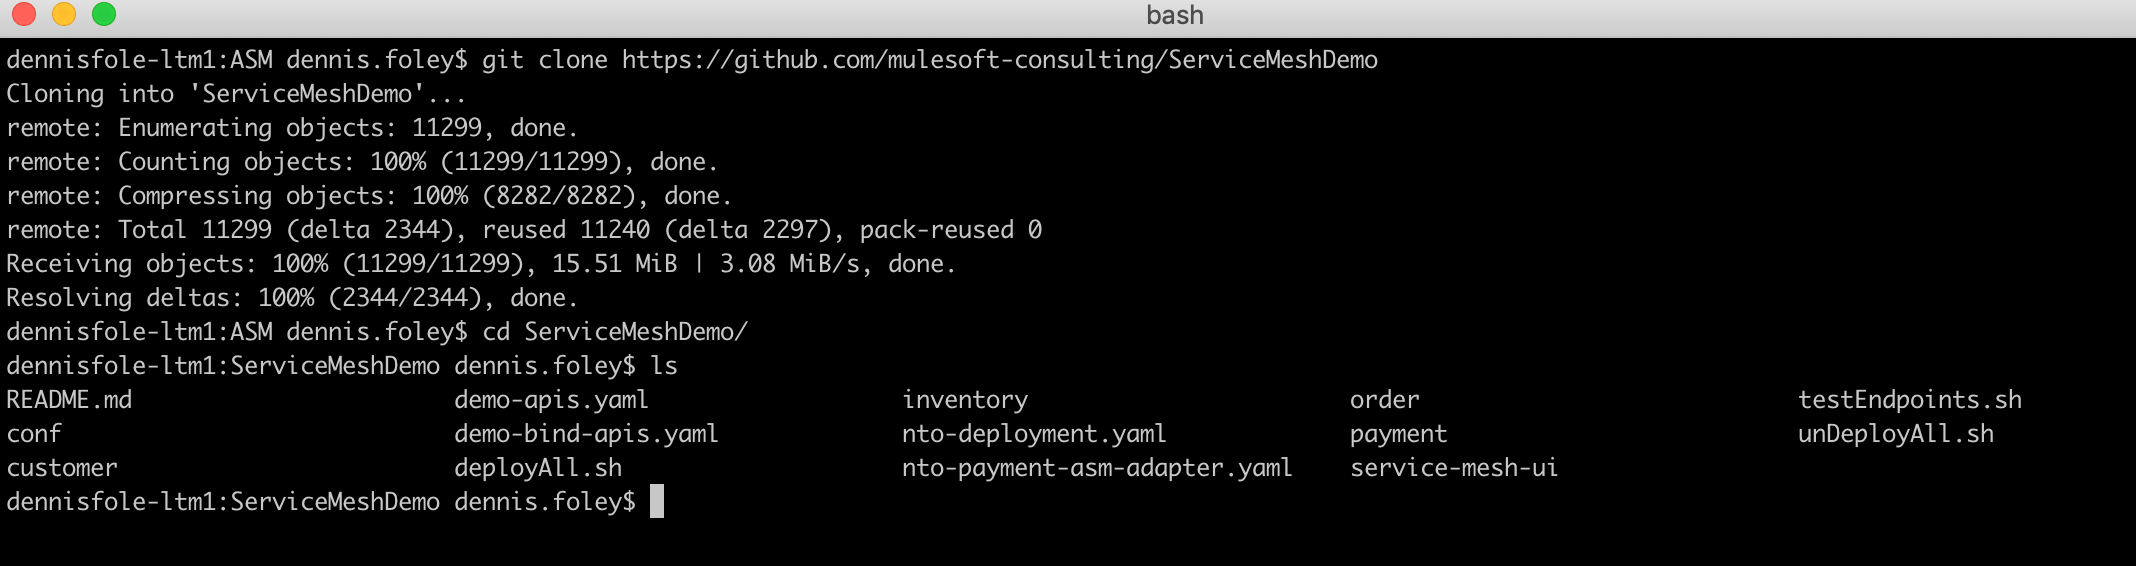
Step 7: Deploy the Demo Application
We will now deploy the demo application to your kubernetes cluster. The deployment script takes the namespace as a parameter. We will be using mythical-payment for namespace
./deployAll.sh mythical-payment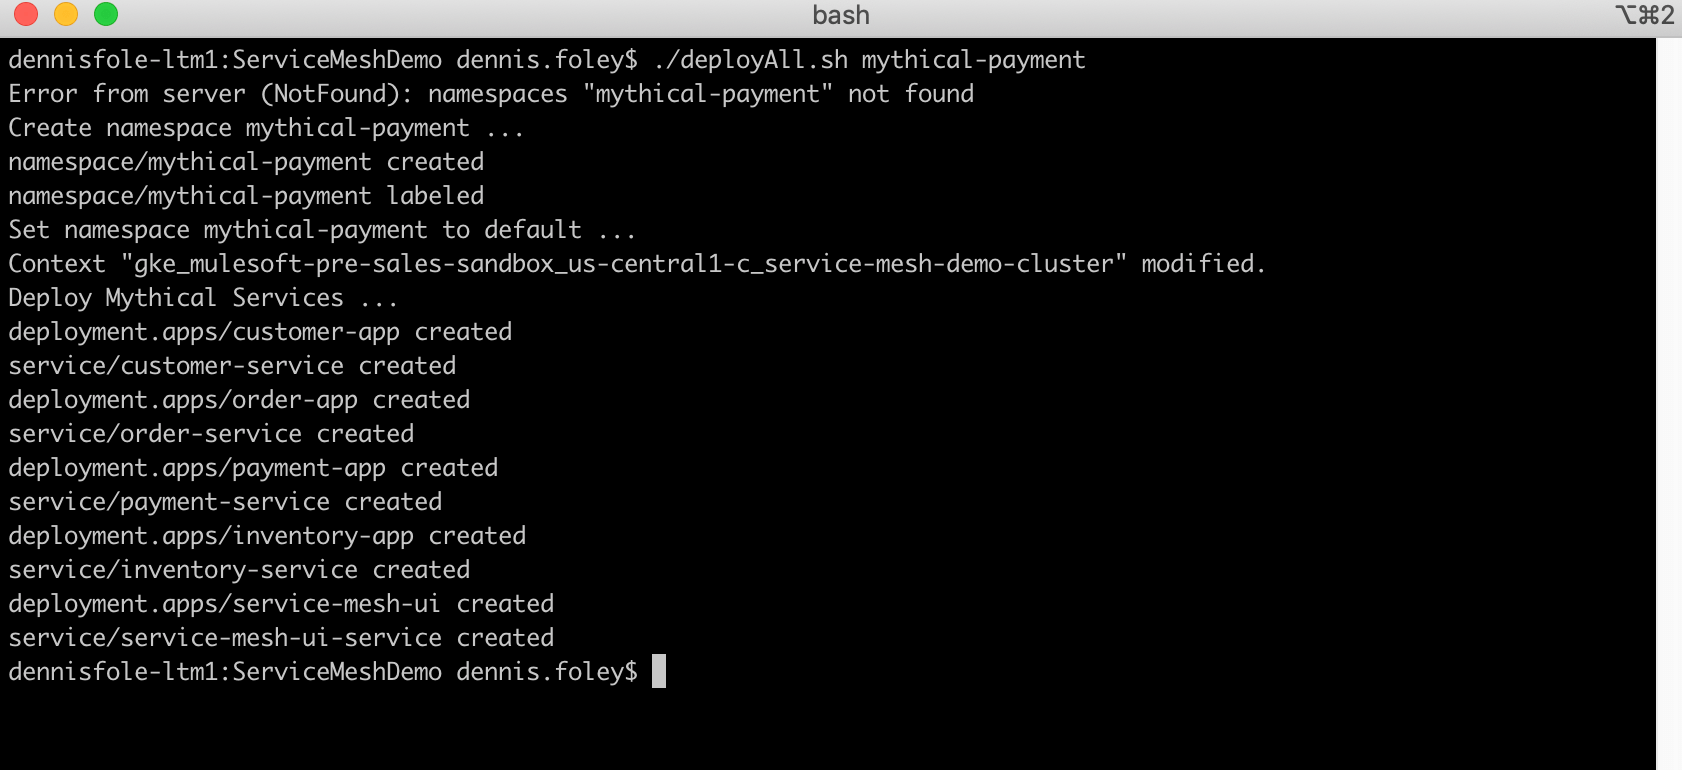
You can monitory the deployment with the following commands
kubectl get pods -n mythical-paymentkubectl get services -n mythical-payment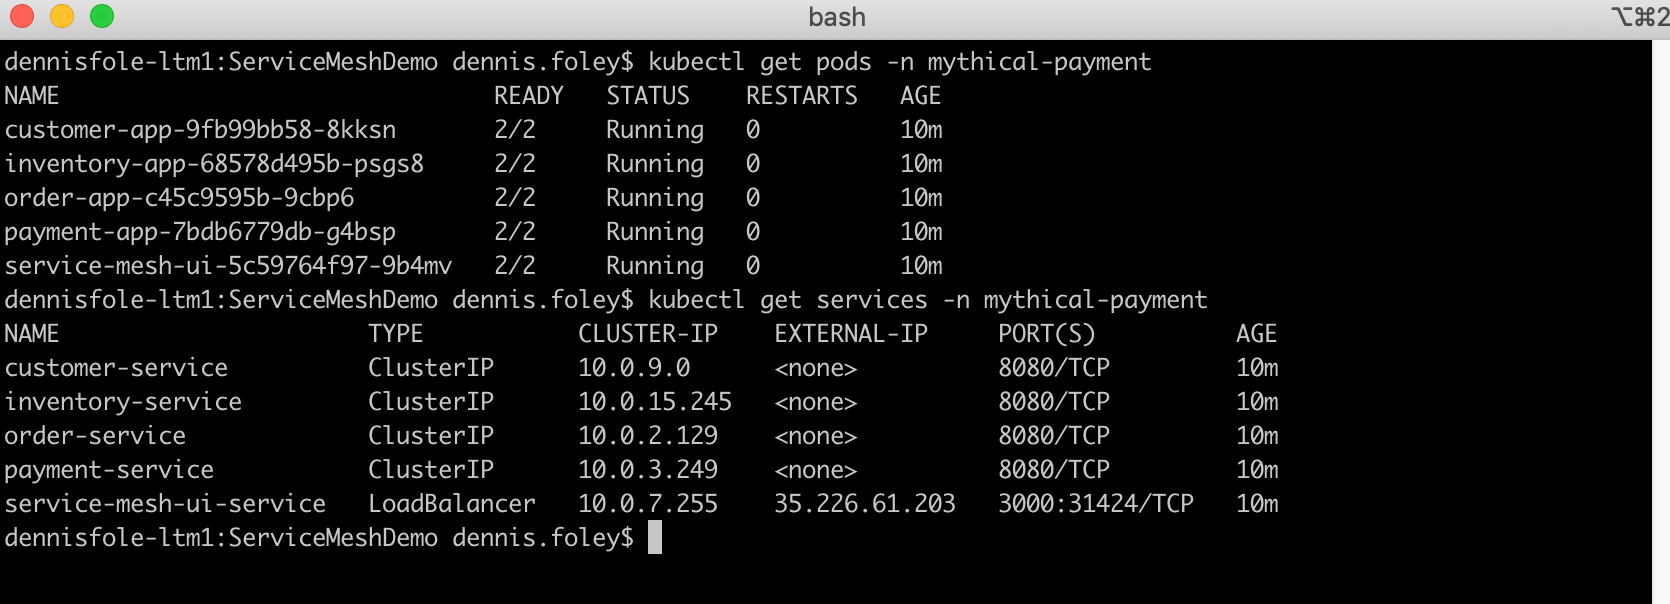
Once all services are running you can test out the application. To access the application open you browser and go to the following URL
http://{external-ip}:3000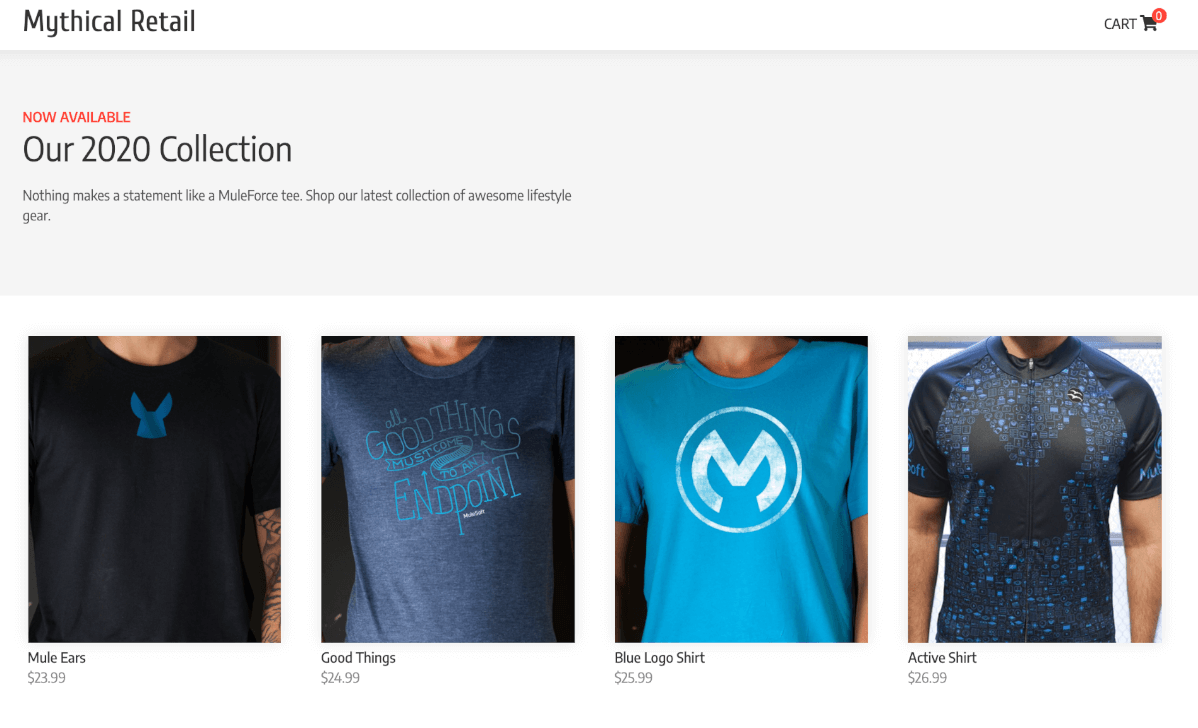
To test out the application follow these steps: Select Item to purchase, Click Add to Cart, Click Checkout, Leave default email and click CONTINUE, Click AUTHORIZE PAYMENT, Last click PLACE ORDER

Step 8: Install Anypoint Service Mesh
First download the lastest Anypoint Service Mesh CLI and make it executable.
curl -Ls http://anypoint.mulesoft.com/servicemesh/xapi/v1/install > asmctl && chmod +x asmctlNow we are ready to install Anypoint Service Mesh. To do this we will call asmctl install. This command requires 3 parameters
- Client Id
- Client Secret
- Service Mesh license
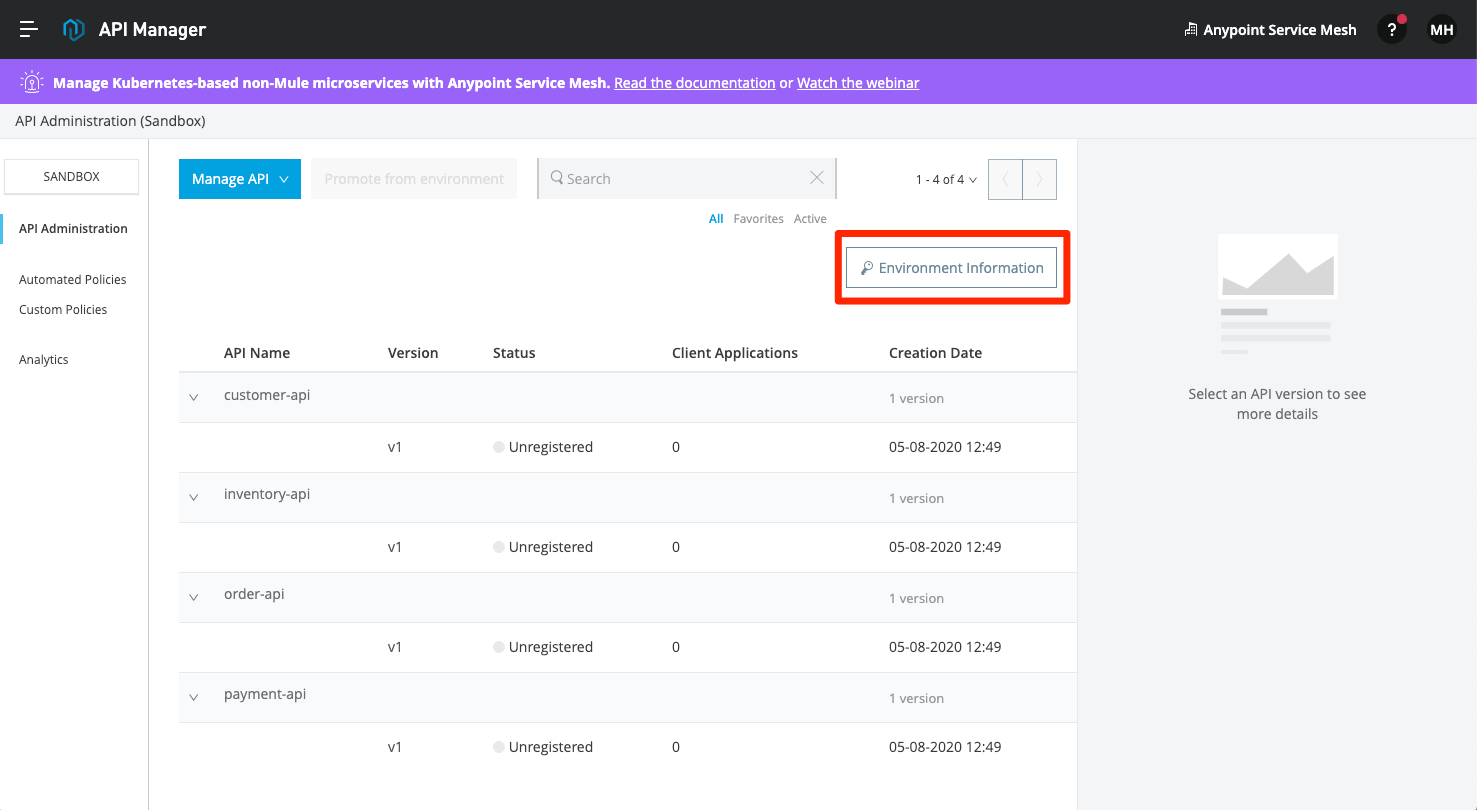
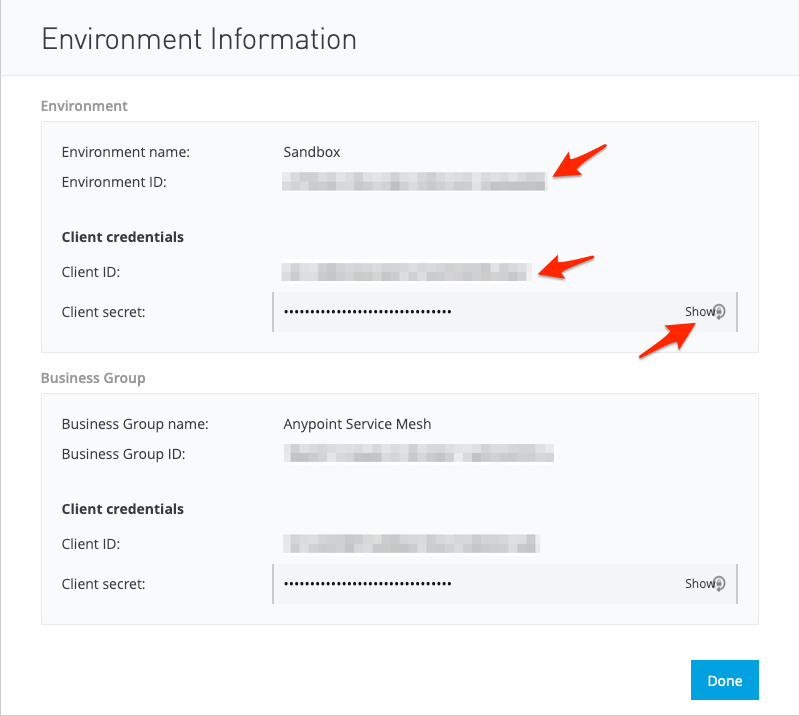
If you are not familiar with how to get environment Client Id and Secret, navigate to API Manager and click on the Environment Information button.
./asmctl install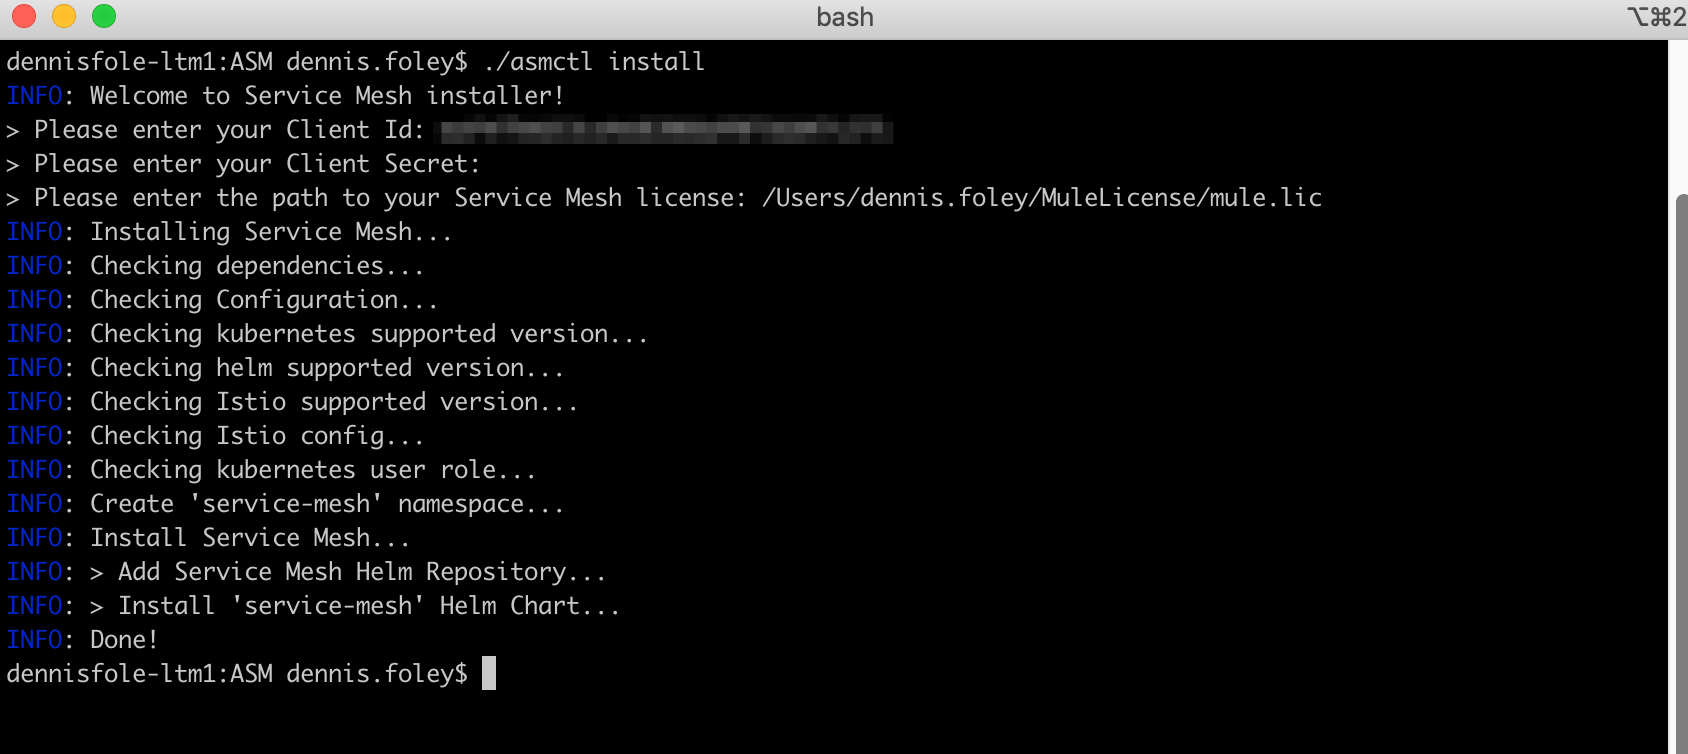
Verify that Anypoint Service Mesh has been installed correctly with the following command.
kubectl get pods -n service-mesh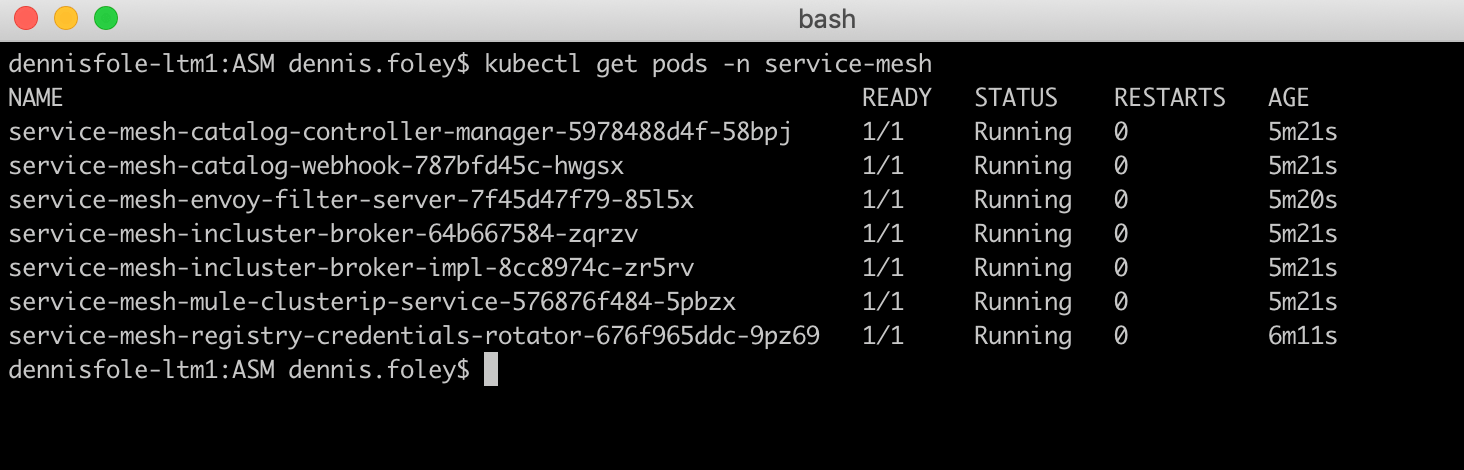
Step 9: Install Anypoint Service Mesh Adapter
Next we want to deploy the Anypoint Service Mesh adapter in each namespace that we want to monitor API’s. For this example, we will just be doing the nto-payment namespace that contains the demo application. To deploy the ASM Adapter we will be using a Kubernetes custom resource definition (CRD). In the ServiceMeshDemo repository, we have to create the file nto-payment-asm-adapter.yaml that can be modified.

Replace CLIENT ID and CLIENT SECRET with values for your environment. Save file and run the following command
kubectl apply -f mythical-payment-asm-adapter.yaml
Use the following command to monitor the progress. Wait for status to change to Ready.
asmctl adapter list
Step 10: Create API’s
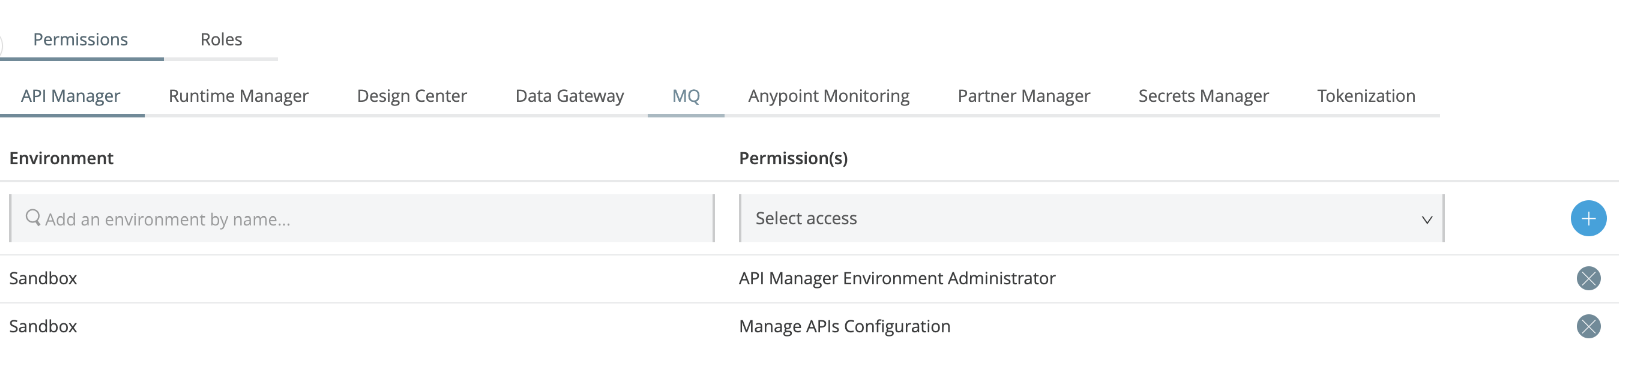
We will now use Anypoint Service Mesh auto-discovery to create API’s in Anypoint Platform. We will create API’s for Customer, Inventory, Order and Payments services that are used by the demo application. Before creating the APIs, ensure the Anypoint Platform user has API Manager Environment Administrator permission, in addition, to Manage APIs Configuration. This can be done by your organization admin in *Access Management.
Modify the Kubernetes custom resource definition (CRD) file demo-apis.yaml. For each API, replace ENV ID, USER, and PASSWORD with the values for your environment. If you are unsure how to get the environment I’d check out this article. NOTE: If you run this multiple times you might need to change the version number since Anypoint Platform will keep it around for 7 days. Save the file and run the following command
kubectl apply -f demo-apis.yaml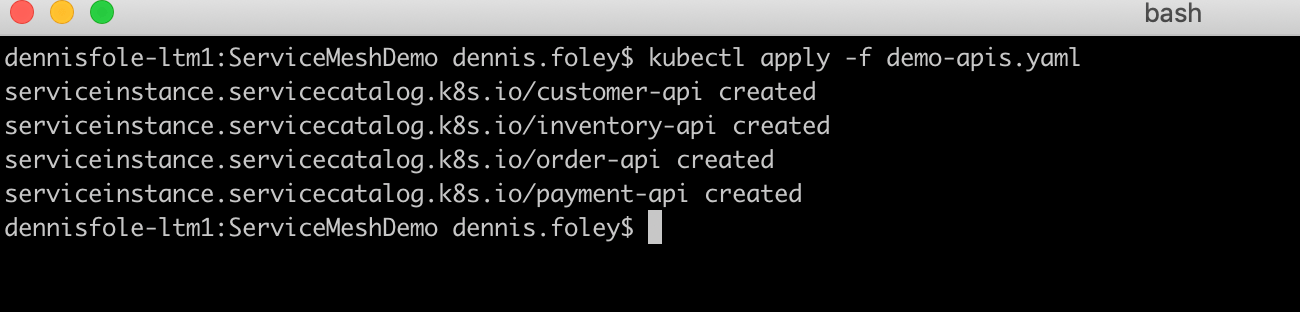
You can also verify that the API’s have been created in Anypoint Platform. Go to Anypoint Platform and navigate to API Manager

Step 11: Binding API’s with Services
The last step is to bind the Kubernetes Services with the Anypoint Platform API’s. To do this you will use the binding definition file demo-bind-apis.yaml. Execute the following command
kubectl apply -f demo-bind-apis.yaml
Use the following command to monitor the progress. Wait for status to change to Ready
asmctl api binding list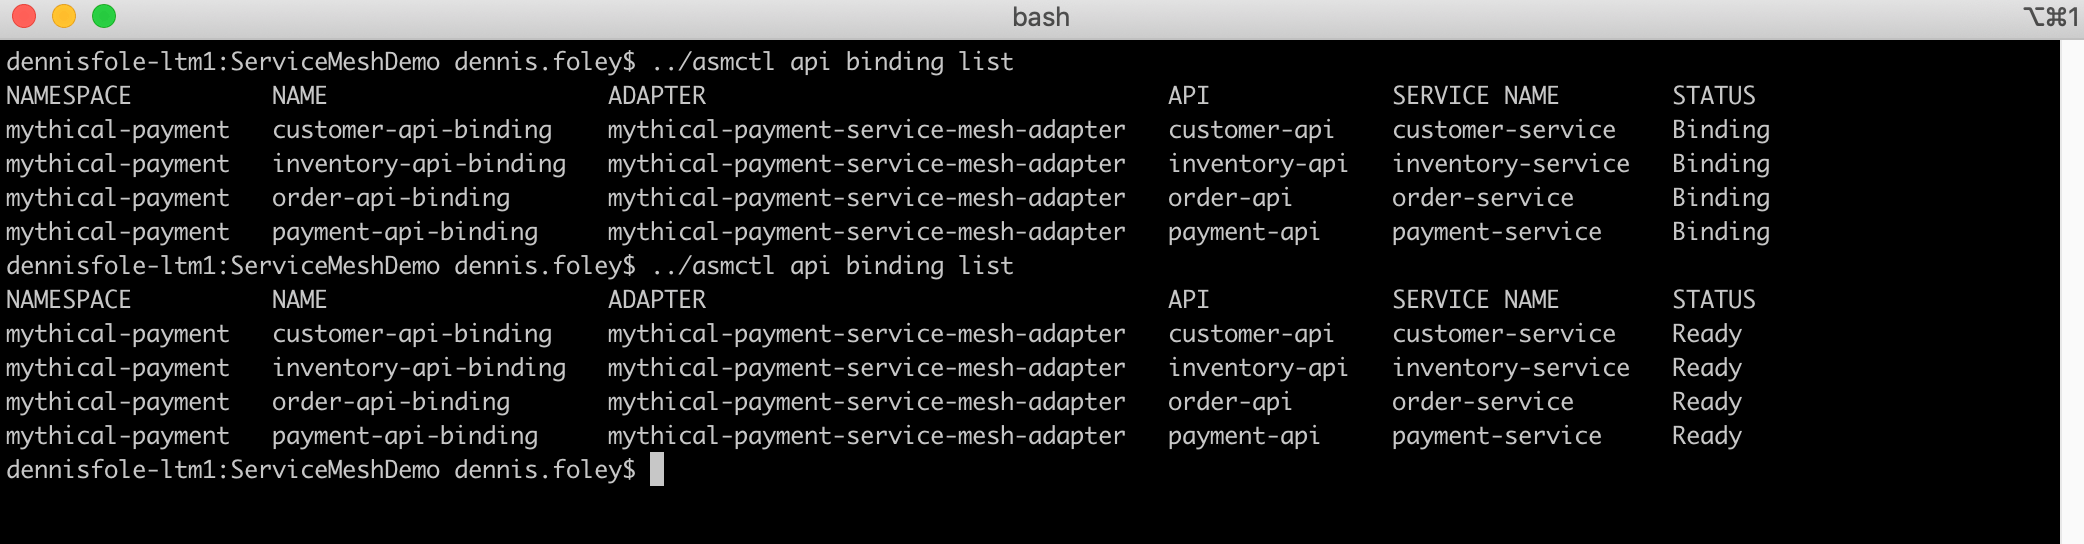
If you go may to API Management in Anypoint Platform and refresh the page you will see that the API’s are now Active. You have completed the installation of Anypoint Service Mesh. To view some more examples of how to apply API Management Polices, you can view this AWS guide on the MuleSoft GitHub by clicking here.
CONGRATULATIONS!!! You have completed installing Anypoint Service Mesh, applying policies to kubernetes services, reporting and monitoring the analytics of these non-Mule services via Anypoint Platform.
Try Anypoint Platform for free
Start your 30-day free trial of the #1 platform for integration, APIs, and automation. No credit card required. No software to install.
Questions? Ask an expert.
