Please note that this is not a technical tutorial. This is intended as a guide to understand the functionality of the product and how to use it.
The DataWeave Playground enables developers to create mock data transformations in their web browser based on an input payload. There is also a tutorial section of the DataWeave Playground that covers different DataWeave examples with interactive exercises to help you master the language.
Experiment with the Online DataWeave Playground
Click the button below to start using the DataWeave Playground.
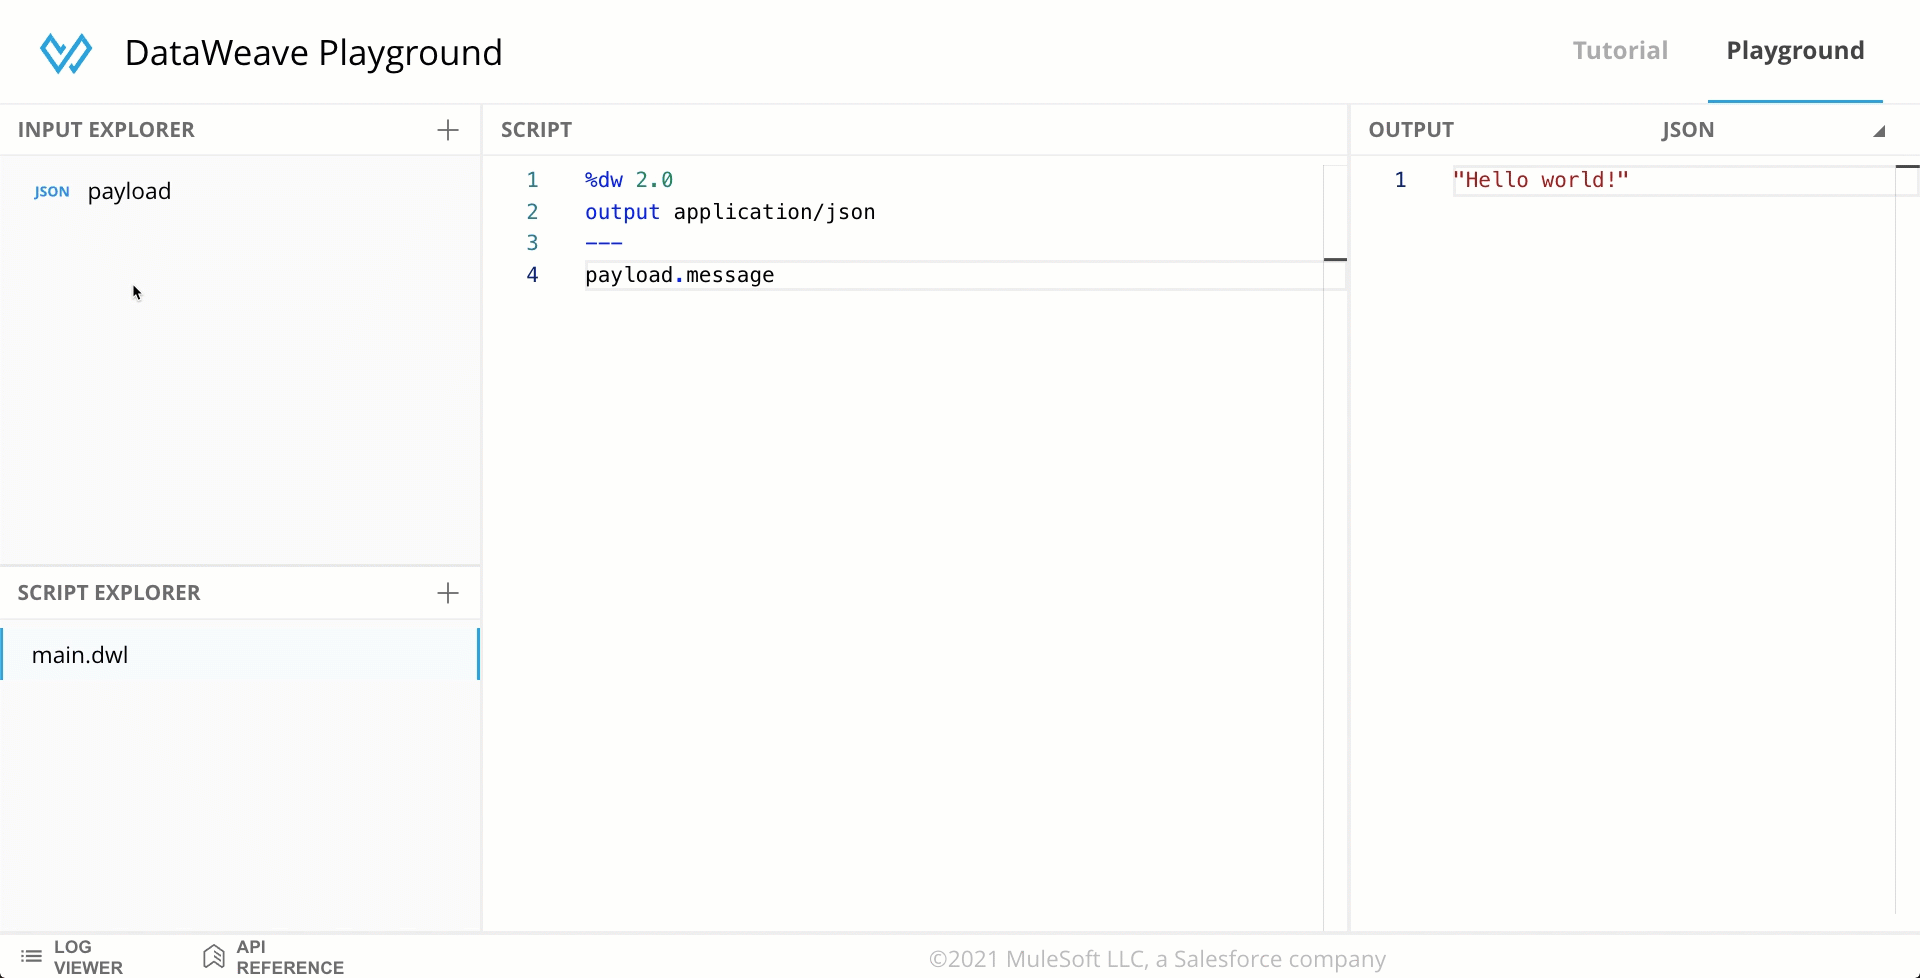
The main sections you’ll almost always use are the input, script, and output to start experimenting with any code you may want to try. However, there are more sections that you can also use, like the script explorer, log viewer, or API reference. Here you will learn how to use and where to find these sections.
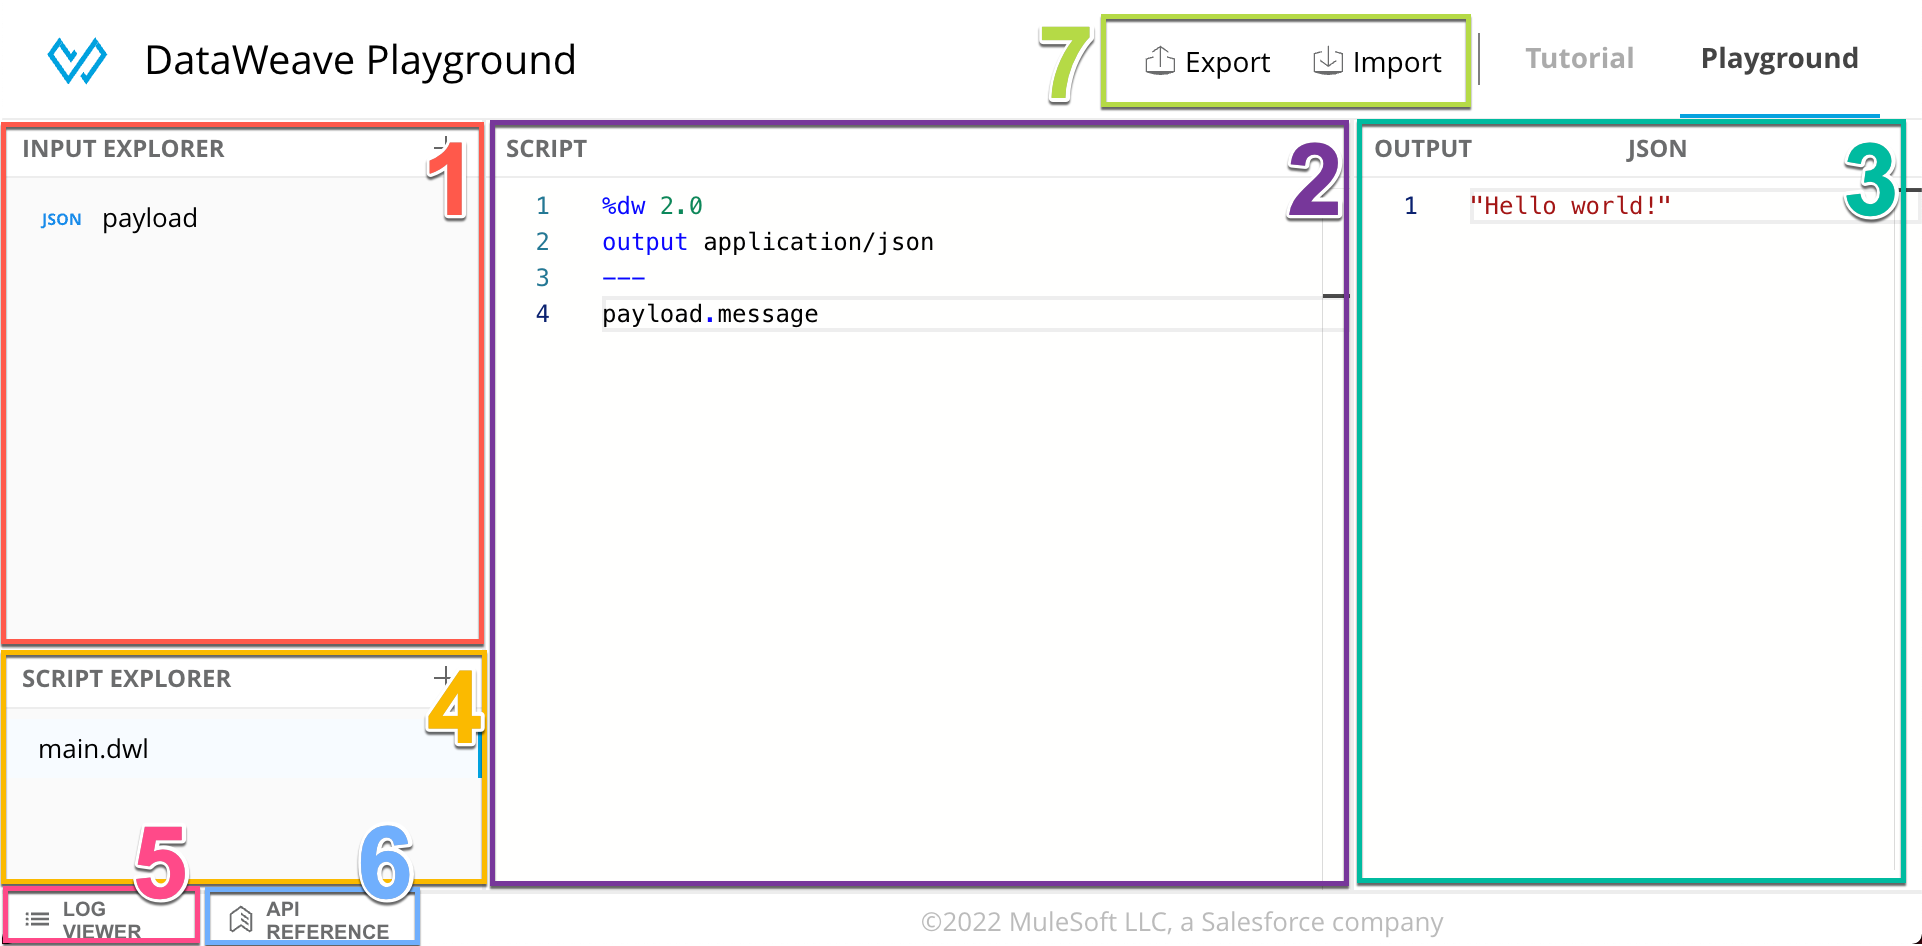
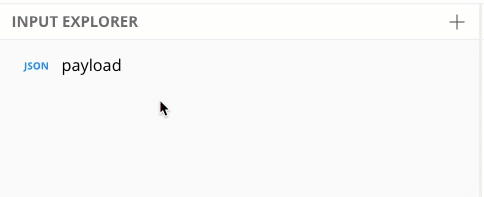
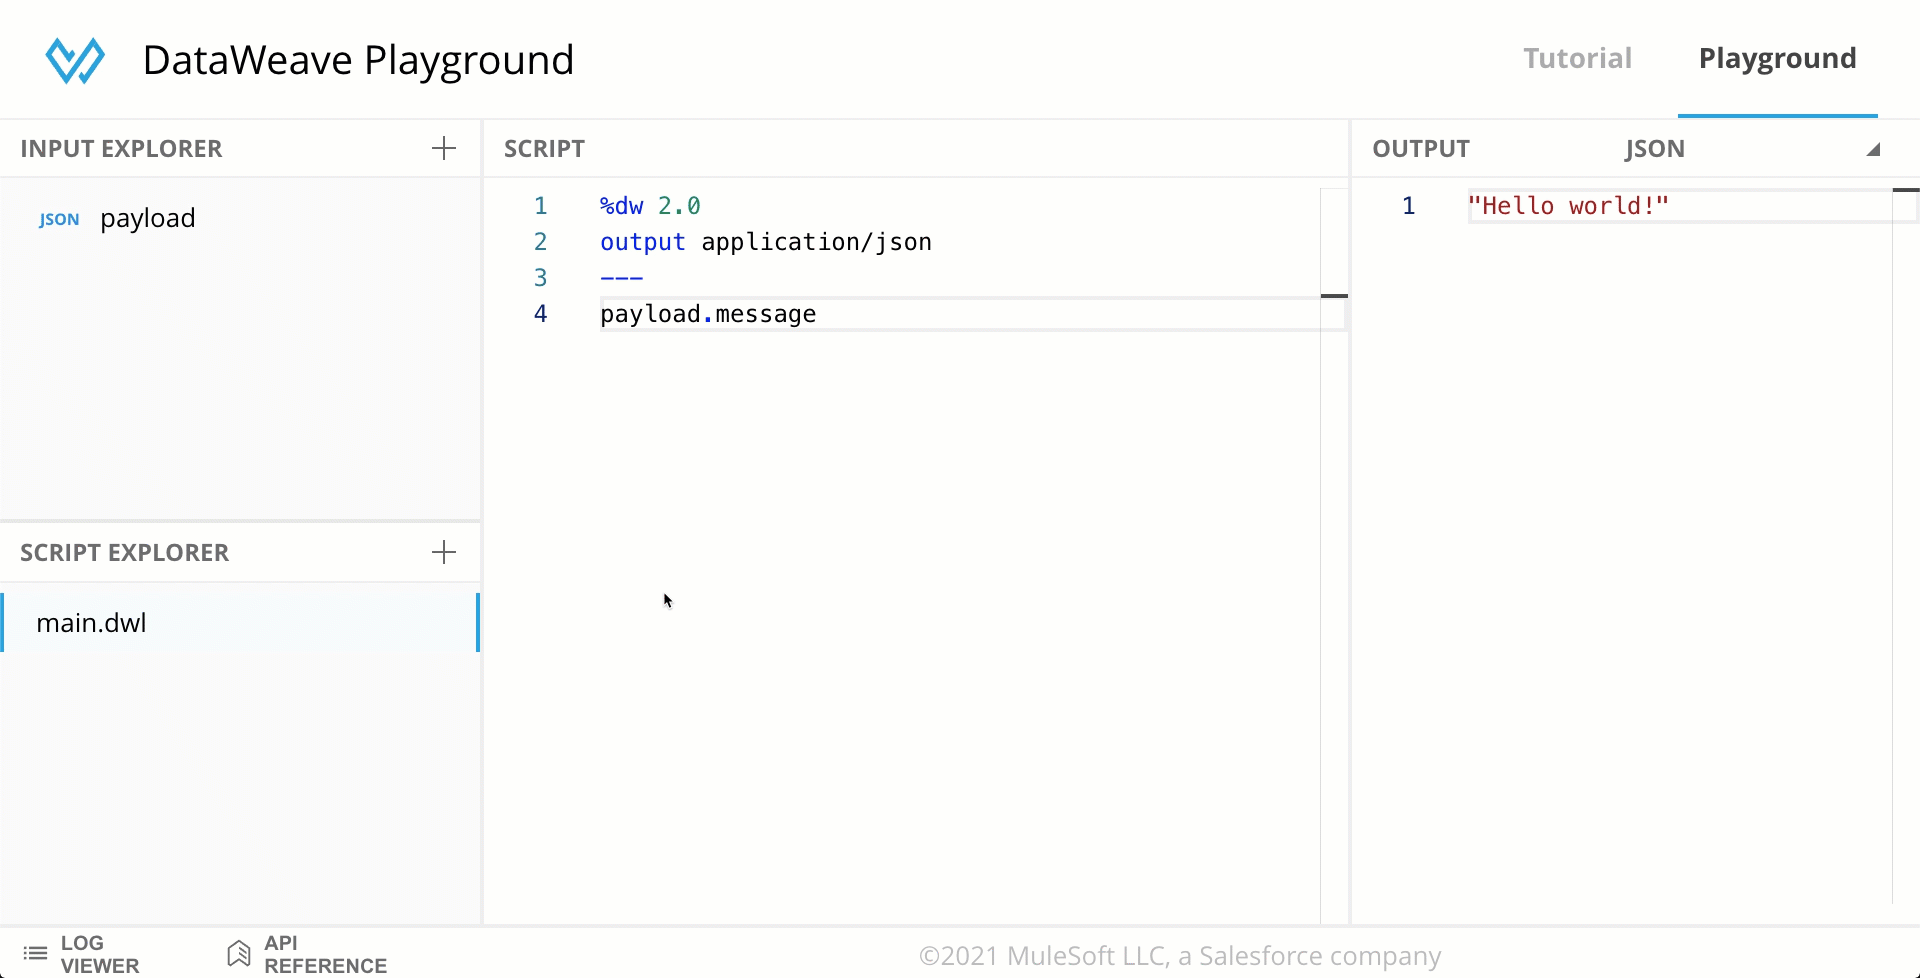
1. Input Explorer
Located at the left side of the screen, here you can change the input payload by clicking on the payload component. After you click on it, you can choose the MIME type using the dropdown at the top. For example, if your payload is an XML instead of a JSON type, you can change the payload and the MIME type to match.
Working with the already existing payload component is what most people need for their use case, but you can also create additional components. For example, you can create a vars JSON object by clicking on the + button and writing vars. This lets you use both inputs in your script. You can also change the MIME type of these additional components.
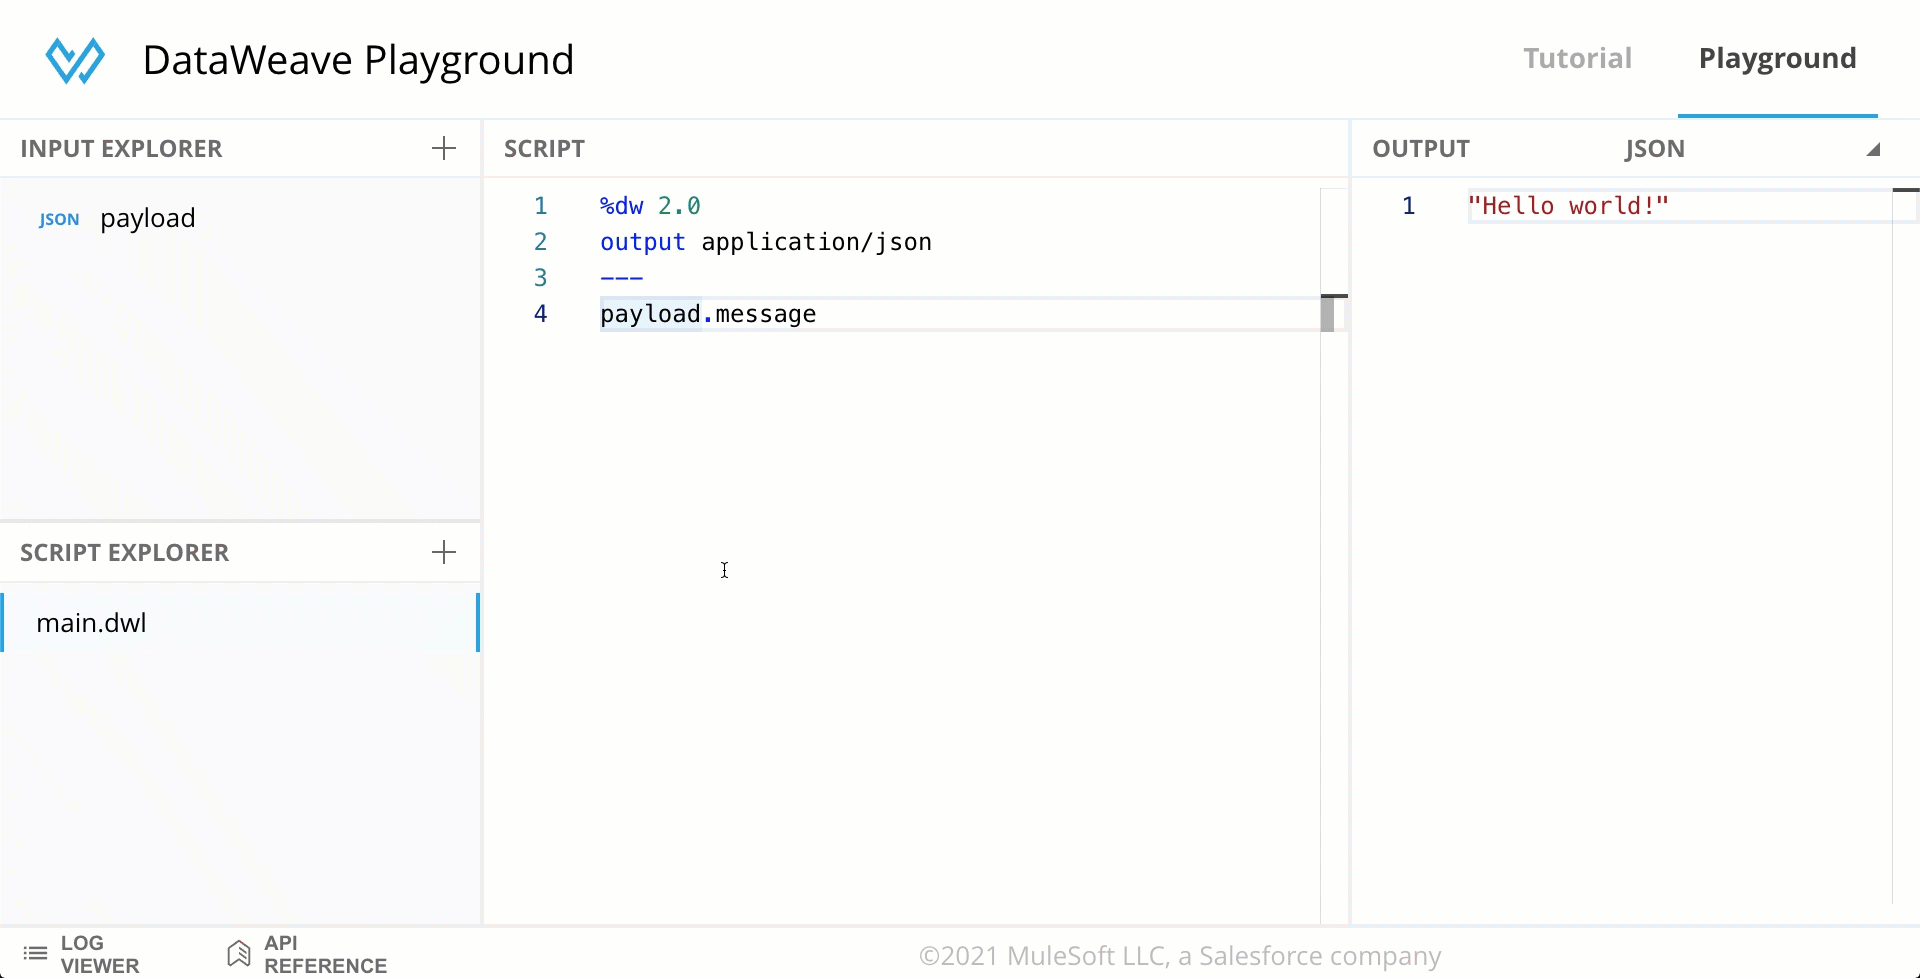
Once you click on a component, you can go back to the input explorer by clicking on the < button located at the left side of the MIME type dropdown or the component’s name.
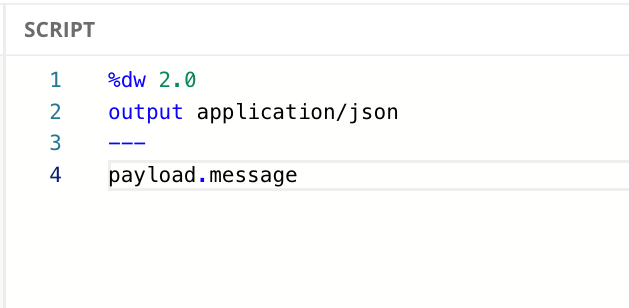
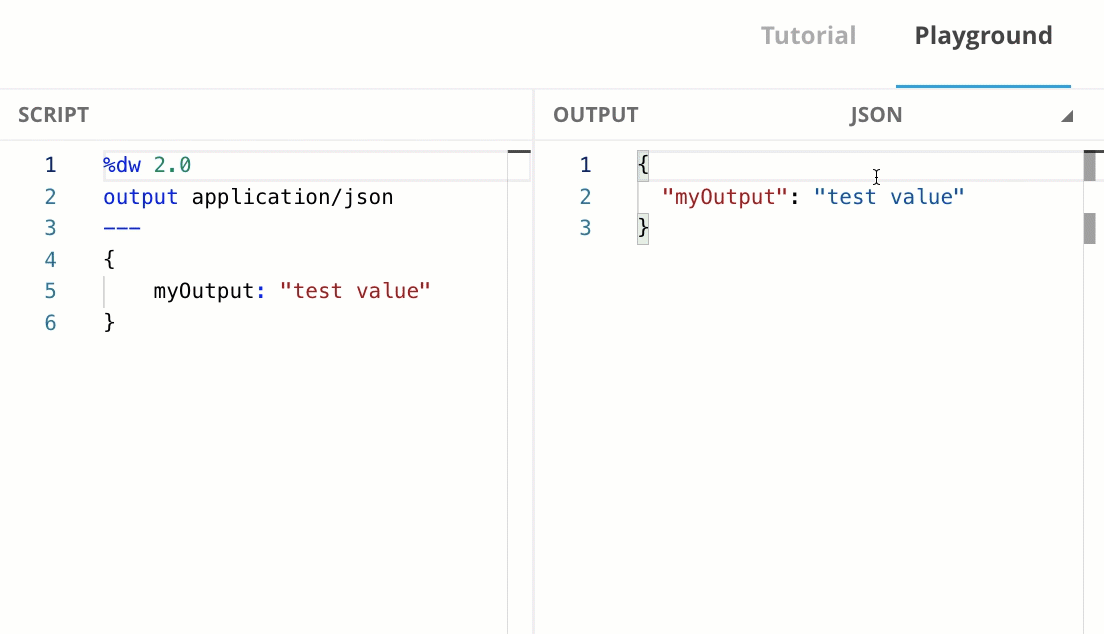
2. Script
Located at the center of the screen, here you can write all your DataWeave code to create an output.
3. Output
Located at the right side of the screen, here you can see the corresponding output of your DataWeave script. You can change the output’s MIME type using the dropdown at the top and this will change your DataWeave script to match the selected option.
4. Script Explorer
The script explorer is located at the bottom-left side of the screen, under the input explorer. Here you can see the .dwl (DataWeave Language) files that can be used in the script. This is helpful to create functions in modules and use them in your main script with the import directive.
If you can’t see the script explorer it’s because you’re inside the input component (i.e., payload). Click on the < button located at the left side of the MIME type dropdown or the input component’s name to show the input explorer and the script explorer.
5. Log Viewer
The first of the two buttons located at the very bottom of the screen. Once you click on the LOG VIEWER button, a new section appears. Here you can see the outputs from using the log() function. You can click on the same button again to hide the section.
To learn more about the log function in DataWeave, you can check out the official documentation here.
6. API Reference
The second of the two buttons located at the very bottom of the screen. Once you click on the API REFERENCE button, a new section appears. Here you can see the DataWeave API Reference to consult any function. You can click on the same button again to hide the section.

You can use your browser’s search function (CTRL+F or CMD+F for most browsers) to search for functions in the API Reference.
7. Export/Import with Visual Studio Code
There are two buttons located at the top of the screen, right next to the Tutorial and Playground buttons. The Export button helps you to export in a .zip file the code you generated in the Playground and move it to Visual Studio Code or send it to someone else to try out your code. The Import button does the opposite - helps you to take a .zip file and start editing the code in the Playground. Let’s see how to use these in detail.
To learn how to set up the DataWeave extension for VSCode, you can follow this developer tutorial.
Once you created some code in the Playground, you can click on the Export button to download a .zip file. Extract this file to your computer and open this new folder from VSCode. You will be able to continue editing the DataWeave code here using the DataWeave extension for VSCode. You can see a quick demo below. You can also just share this file with someone else so they can see the code you generated.
To visualize the code from a .zip file in the Playground, click on the Import button from the Playground and upload the file. You will be able to edit or preview the DataWeave code here.
Learn DataWeave with the Interactive Tutorial
You can either click on the Tutorial button at the top-right of the screen, next to the Playground button; or click on the button below to start using the interactive tutorial.
Once you navigate to the DataWeave Playground’s interactive tutorial, you will be able to follow step-by-step instructions to be introduced to the DataWeave language.
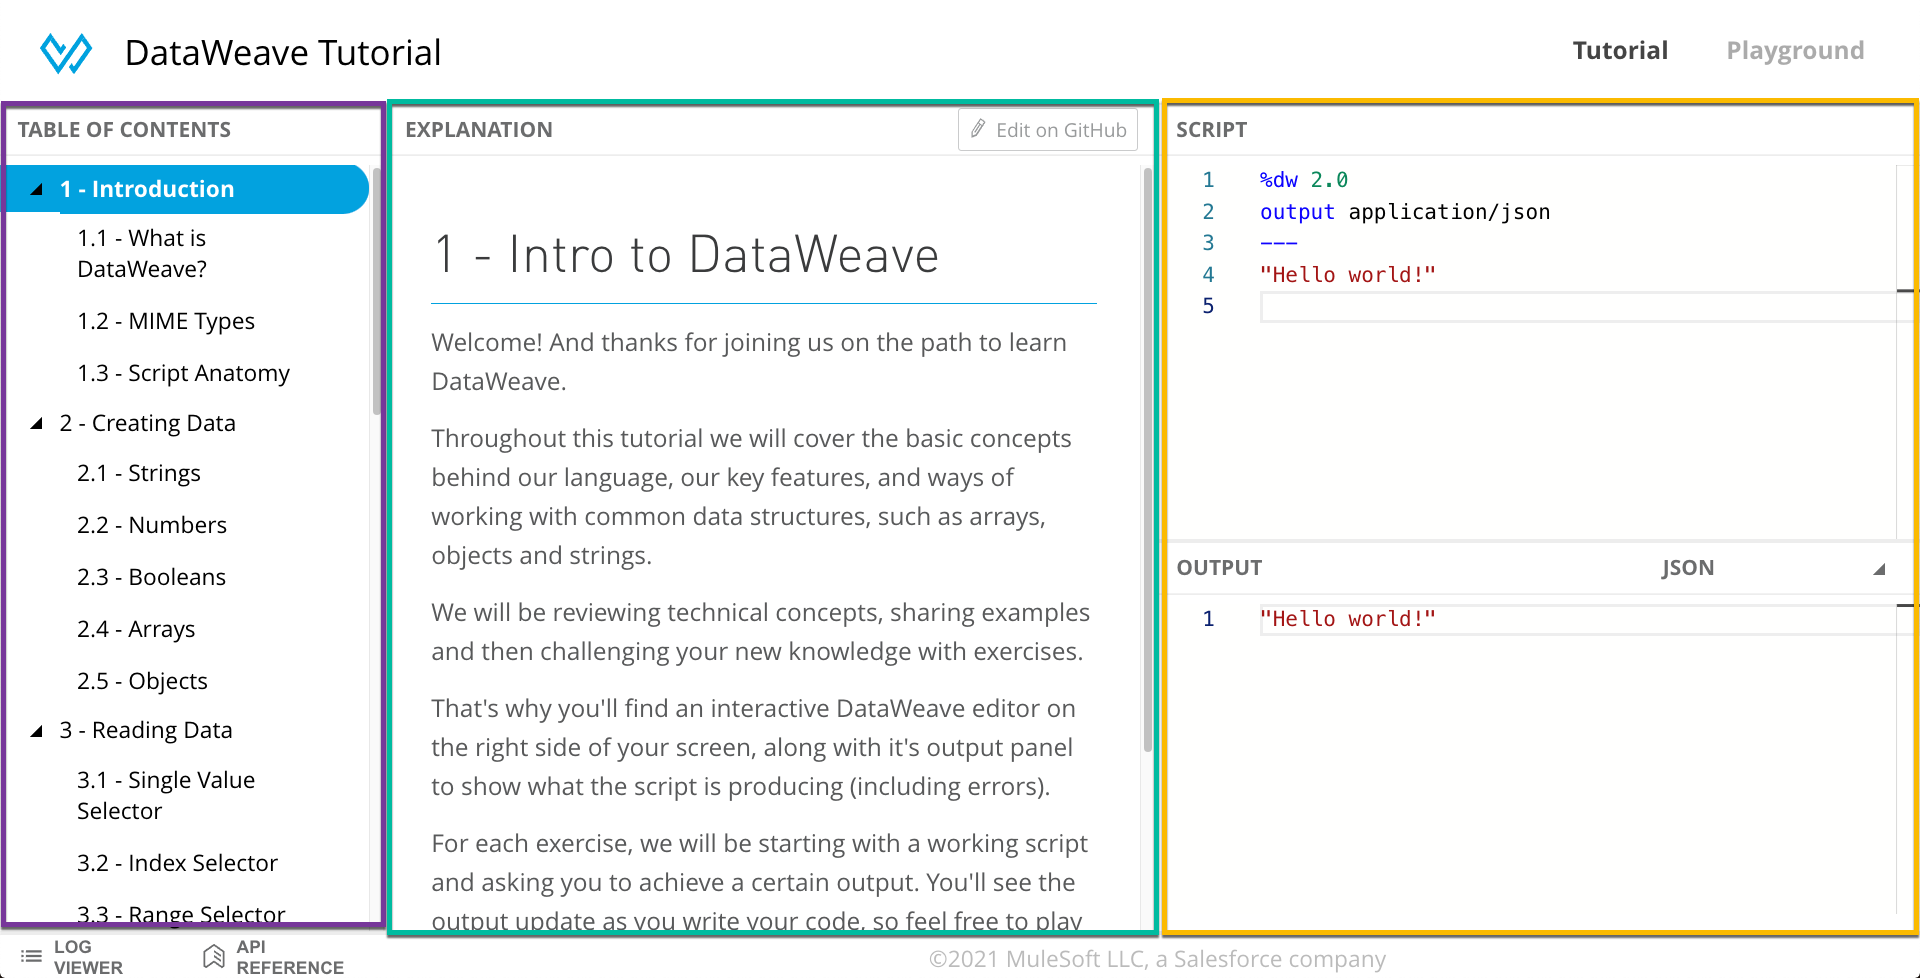
Table of Contents
On the left side of the screen, you will see the table of contents to navigate through the different lessons.
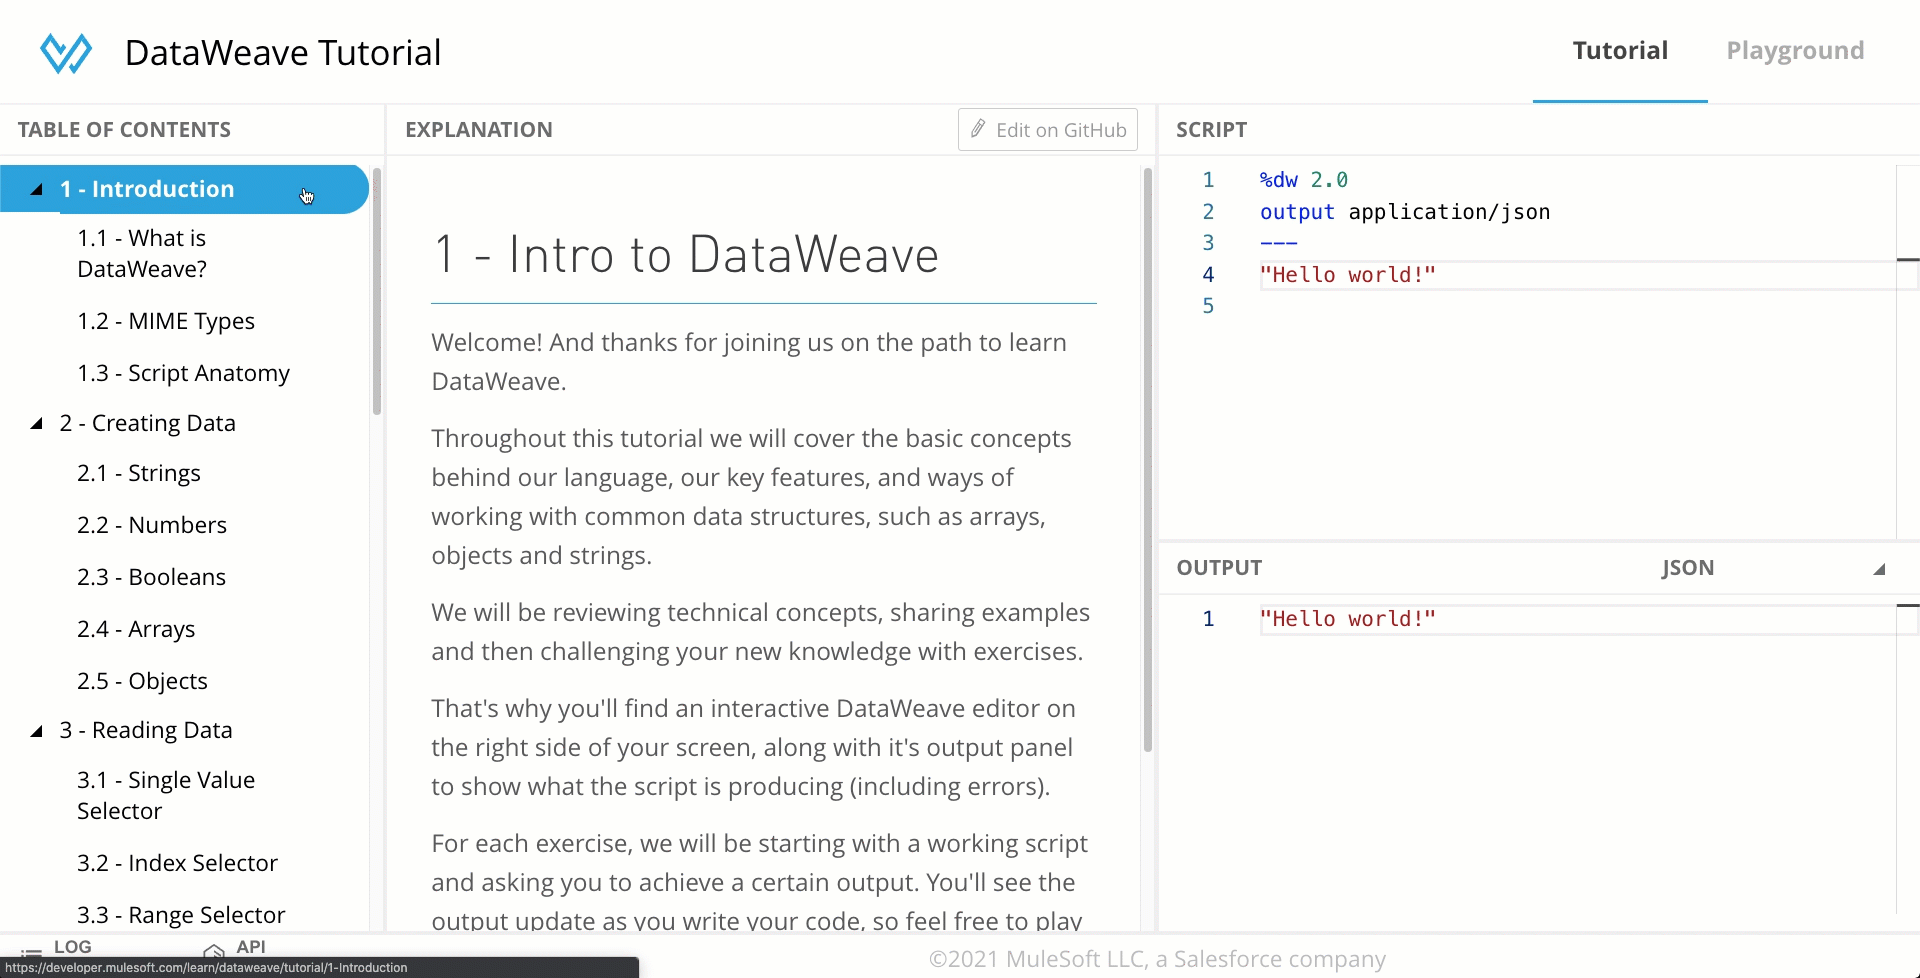
Explanation
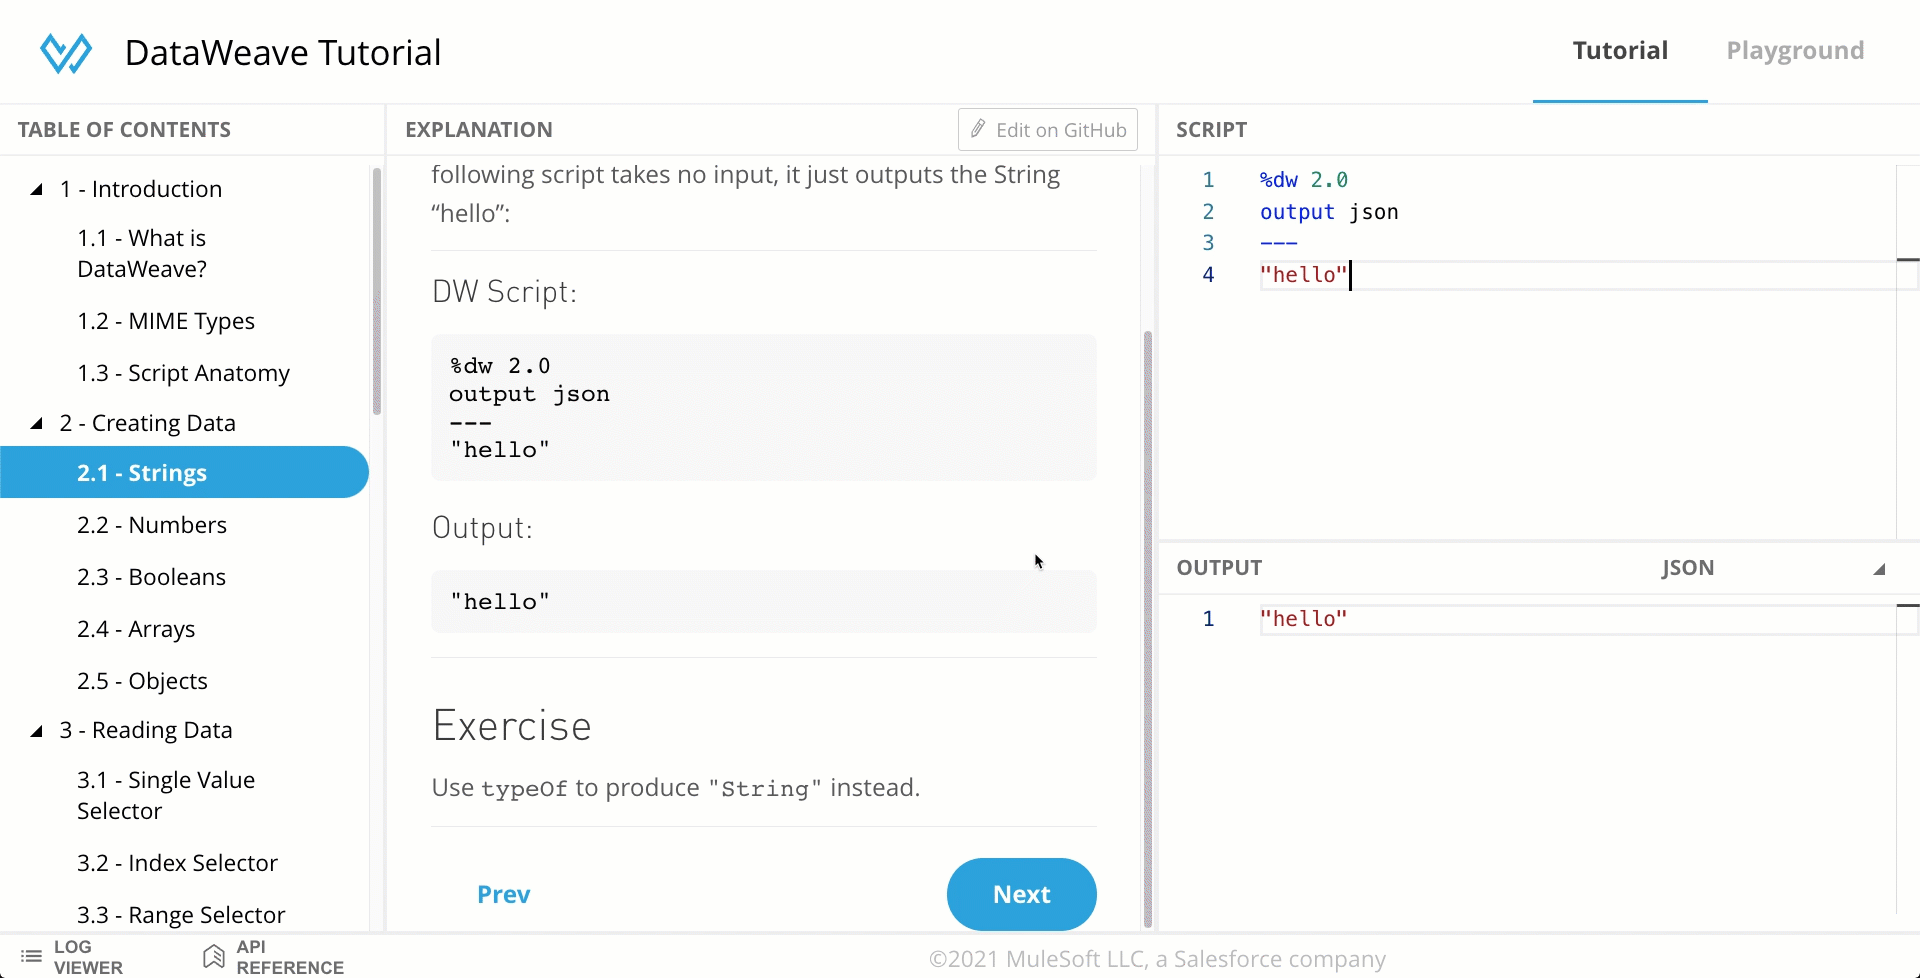
The explanation, or the content of each lesson, can be found in the middle of the screen. Some explanations include interactive exercises for you to try. These exercises can be found at the bottom of the explanation. Read the next section to learn how to solve them.
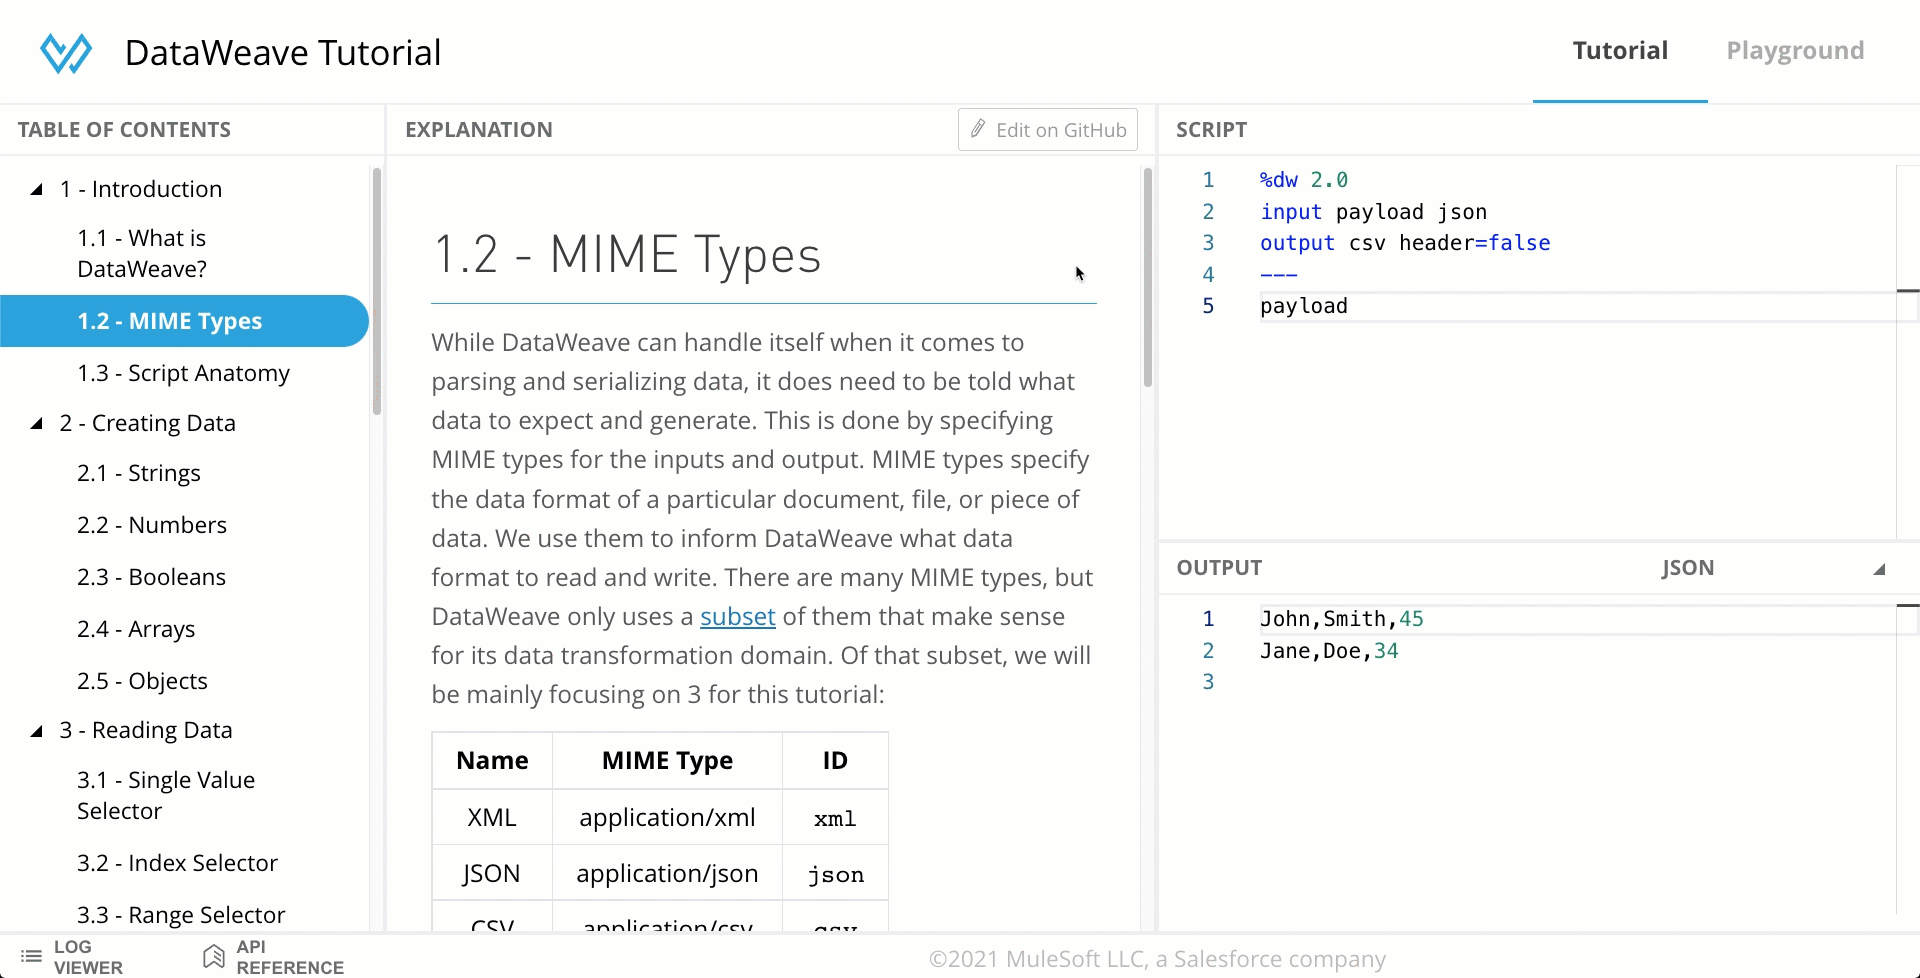
Script and Output
Some lessons contain exercises at the bottom for you to apply your knowledge. You will be able to use the right side of the screen to modify the script and see the output change accordingly. This gives you an opportunity to experiment with the code and see the output reflected immediately.
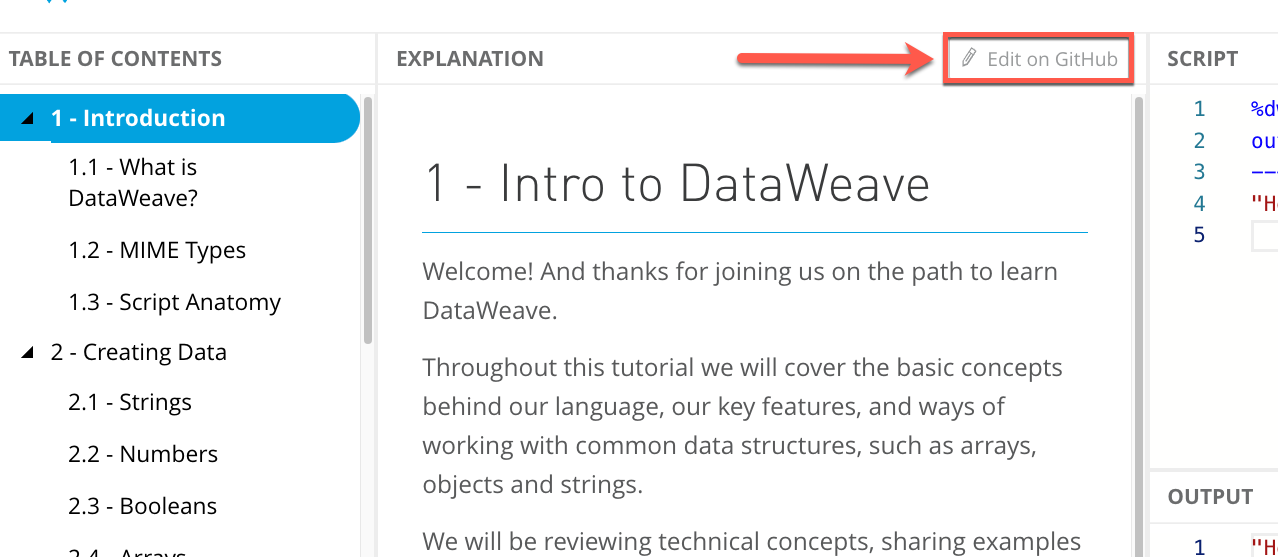
Contribute to the GitHub repository
Finally, if you have any suggestions or notice any information is wrong, you can click on the Edit on GitHub button located at the top-right of the Explanation screen and create a Pull Request with your changes.
Next Steps
We hope that you find the DataWeave Playground to be a useful resource on your MuleSoft development journey. In this tutorial, we learned the overview of the components that can be found in the online DataWeave Playground and its interactive tutorial. If you’re new to DataWeave, continue to the next tutorial to start learning the basics of DataWeave.
Please keep in mind that while the DataWeave Playground is an official MuleSoft product, being a learning tool, it is not covered by MuleSoft support. You won’t be able to open MuleSoft support cases for this suite and there are no SLAs for responses nor bug/features progress. If you are interested in contributing to the content of the interactive tutorials you can submit your pull requests on GitHub.
Click on the Next button below to continue to the next tutorial.


Try Anypoint Platform for free
Start your 30-day free trial of the #1 platform for integration, APIs, and automation. No credit card required. No software to install.
Questions? Ask an expert.
